

Before & After: Zippz Wellness

Hey guys!
We're back with another before and after post and this time we're featuring a shoot we did for Zippz Wellness which happened this past summer. Some of the images/stop motion haven't been released by the client quite yet so I'll be sharing some of the work that has been put out so far. Does anyone else hate waiting on a client to share new work? Le sigh. You might have seen some of the BTS photos already but I'm here to share some real gnarly before shots. It's insane how terrible some of these are and I'm always wondering why clients ever want "the raws." Let's get into it!
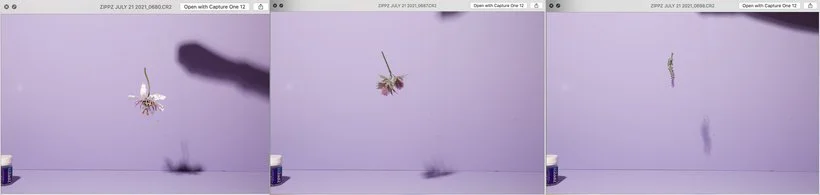
First of all, I actually really enjoyed editing this body of work. Not only because of the vibrant colors but because I got to work some Photoshop magic. I feel like it's always a bit of a challenge anytime you have to photograph something that you're going to have to build later in post-production. For example, for this first shot, we knew this was going to be a levitating image but we didn't know exactly how it was going to be laid out. Originally, we thought that we would have about 3 of the supplement bottles floating so we only photographed 3 variations of a bottle. We also photographed the three main ingredients in various different poses so that we had options for how we wanted to lay each ingredient out in the final shot. While you only see three shots below, we did end up capturing quite a lot of "plates" because we had multiples of the ingredients and we wanted to get in a good variety.
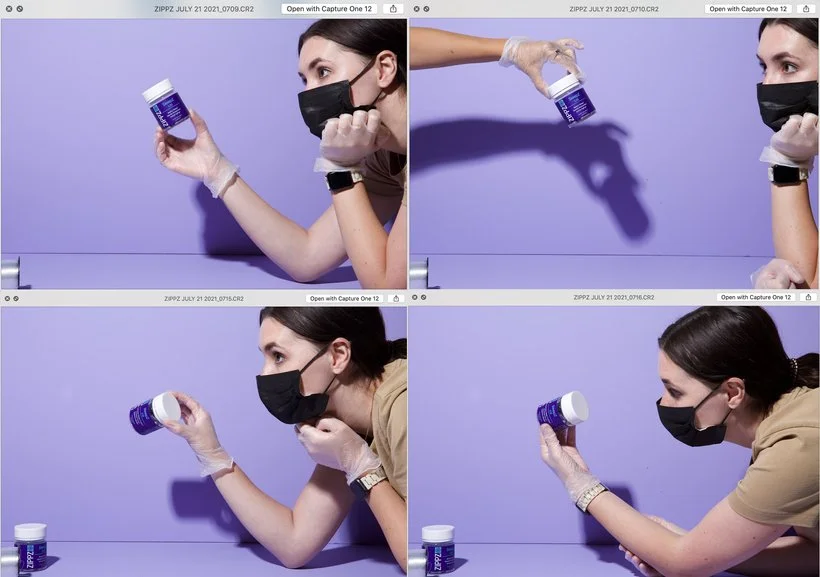
This next image shows you that you really don't need a whole lot of fancy equipment to create an interesting image. In this case, we just used our hands to hold the product from opposite ends so that I could then composite the two together to create a clean shot of the floating supplement bottles. The trick is to act quickly between both shots so that you don't move around too much and are able to photoshop more easily. I probably wouldn't recommend this if you have a product that easily clings to dust or can get dirty quickly. Thankfully, that wasn't the case with this product.
And below is the final image! There was a good amount of rotating, flipping horizontally/vertically, and even a bit of warping to get all of the elements to work together but we think it came out excellent! :)

So now for this next GIF, this one was a fun one. We knew right off the bat that this asset was going to be in the 9x16 format so we didn't really have to do much about the rest of the background. We definitely used the overlay feature in Capture One to make sure we set up our scene with the right dimensions. After that, it was all about how we were going to create the motion and make sure the model's hand stayed within the dimensions needed.
One of the things we had to be conscious about was how we wanted the supplements to look like in her hand. Sometimes what feels wrong for the model to do actually looks better on camera. For example, having to tilt the hand just enough forward for the "audience" to see the supplements. Instead of having the model actually shake the supplements herself, we added them onto her hand ourselves. Also, I'm sure you've noticed how out of whack the colors are in these images and thanks to our gray card, we got them right where we needed them to be.
And here's the final edited GIF.
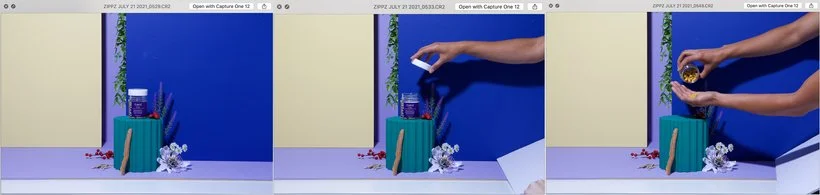
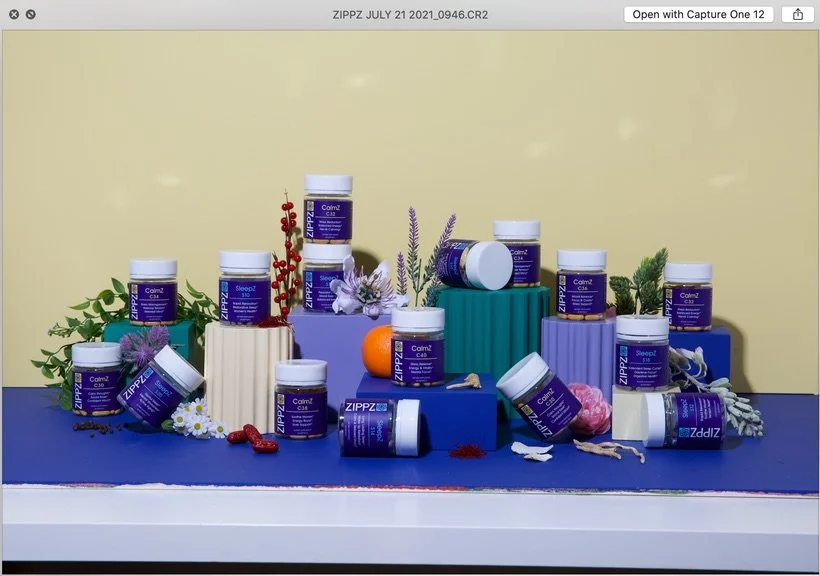
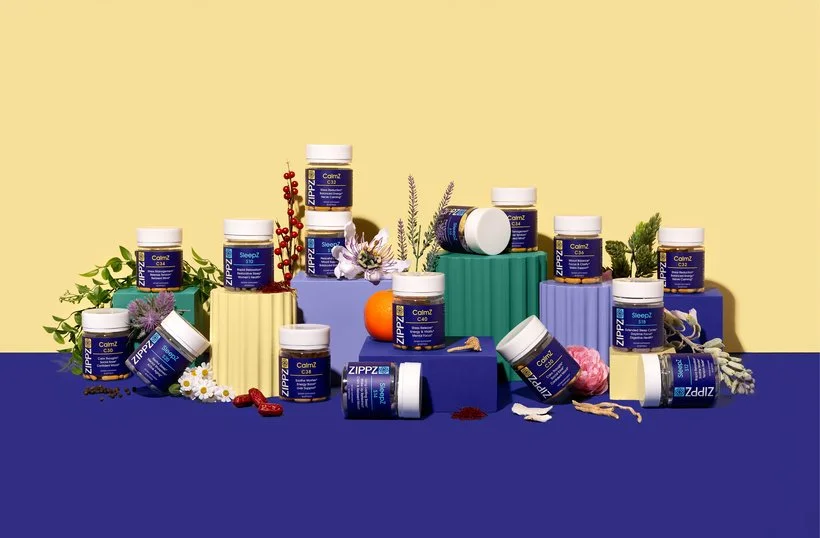
Now onto our final image. I believe this was one of the very last shots we worked on for this shoot and boy do banner shots take quite a long time. There's always so many tweaks from making sure that there's balance throughout the image and that the props work to support the products. Our client was also a bit nitpicky about wanting to add in anything and EVERYTHING. We had to tell him to *calm down* in a nice way. It's so easy to go overboard so sometimes it's best to keep it simple when it comes to group shots. Looking at this before image, I don't know why our camera was set up so crooked haha. Yay for Photoshop!
Hope you all enjoyed this before & after and I can't wait for the next one!
Is it the weekend yet?
Arabela