

BTS Mella
Hi friends!!
We're in that weird space where we've been working on so many projects but aren't able to share the final shots yet so we're going through a lot of old content over on social media. While we do write it into our contracts that any work we create that hasn't been released after 6 months is fair game, it feels like an eternity sometimes haha. Do any of you relate?
Anyway, this shoot is one of those - we took these images back in the beginning of June and still aren't able to use them so I can't show you the final shots, but I still want to take you behind the scenes as it is definitely one of our favorite shoots yet!
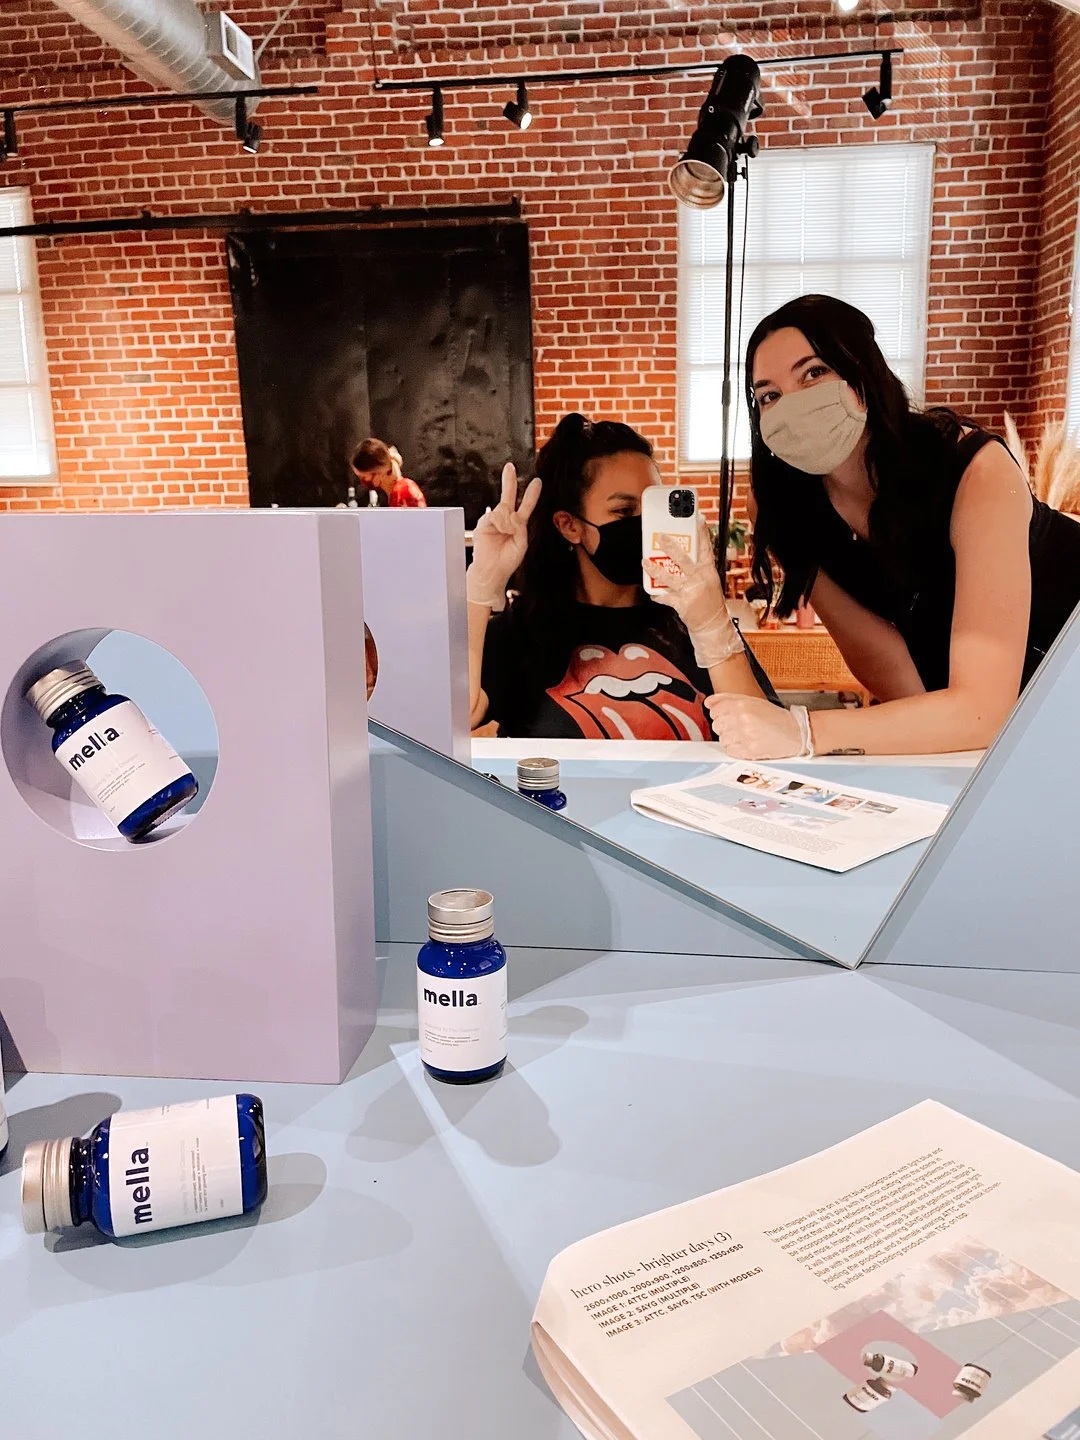
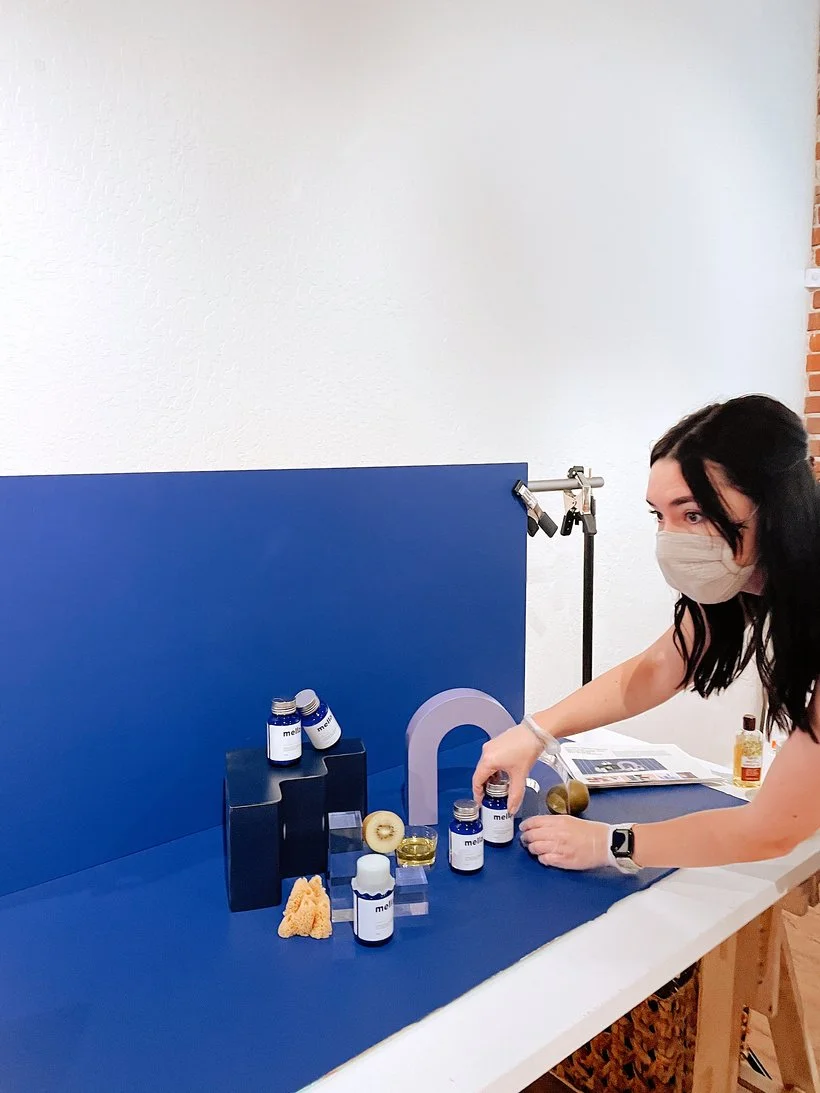
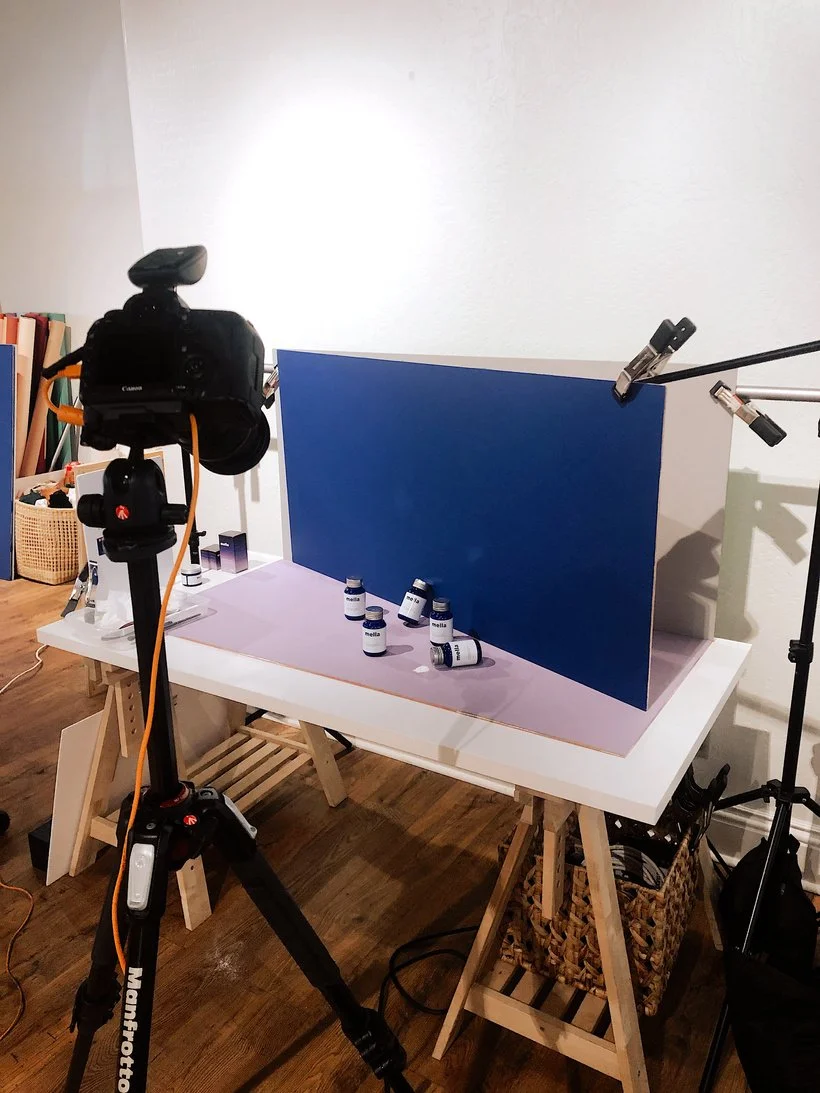
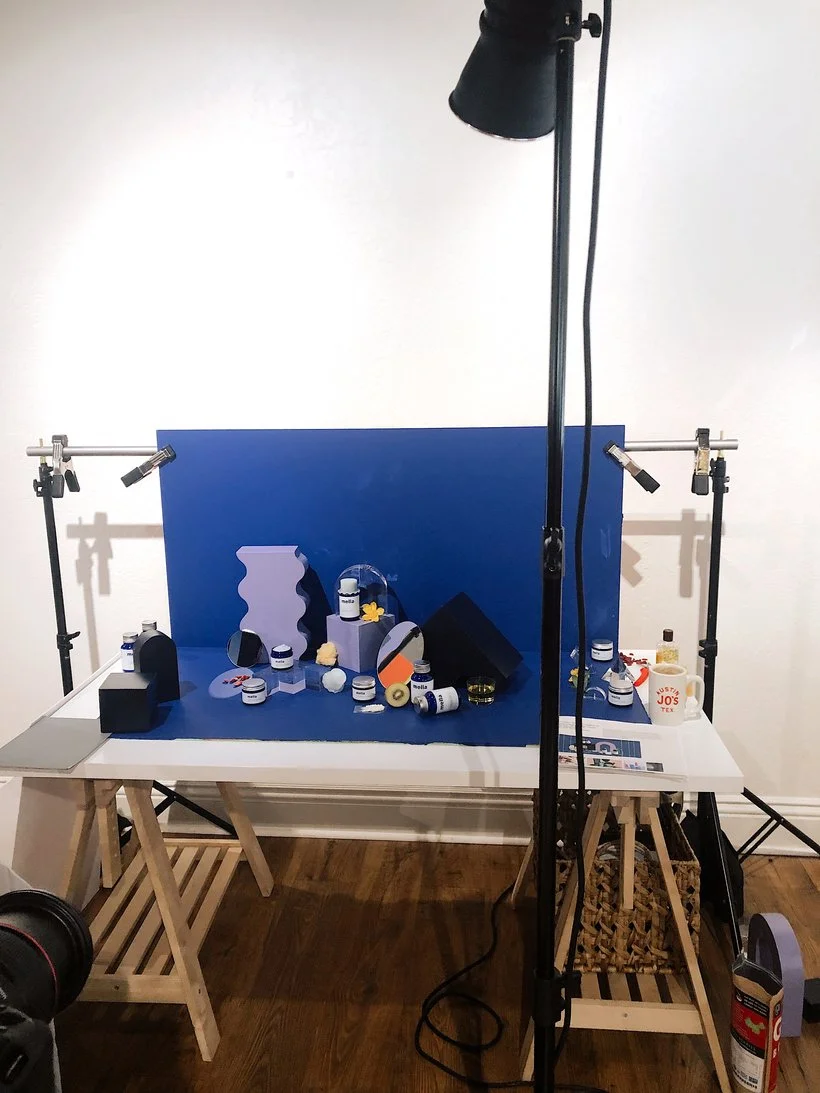
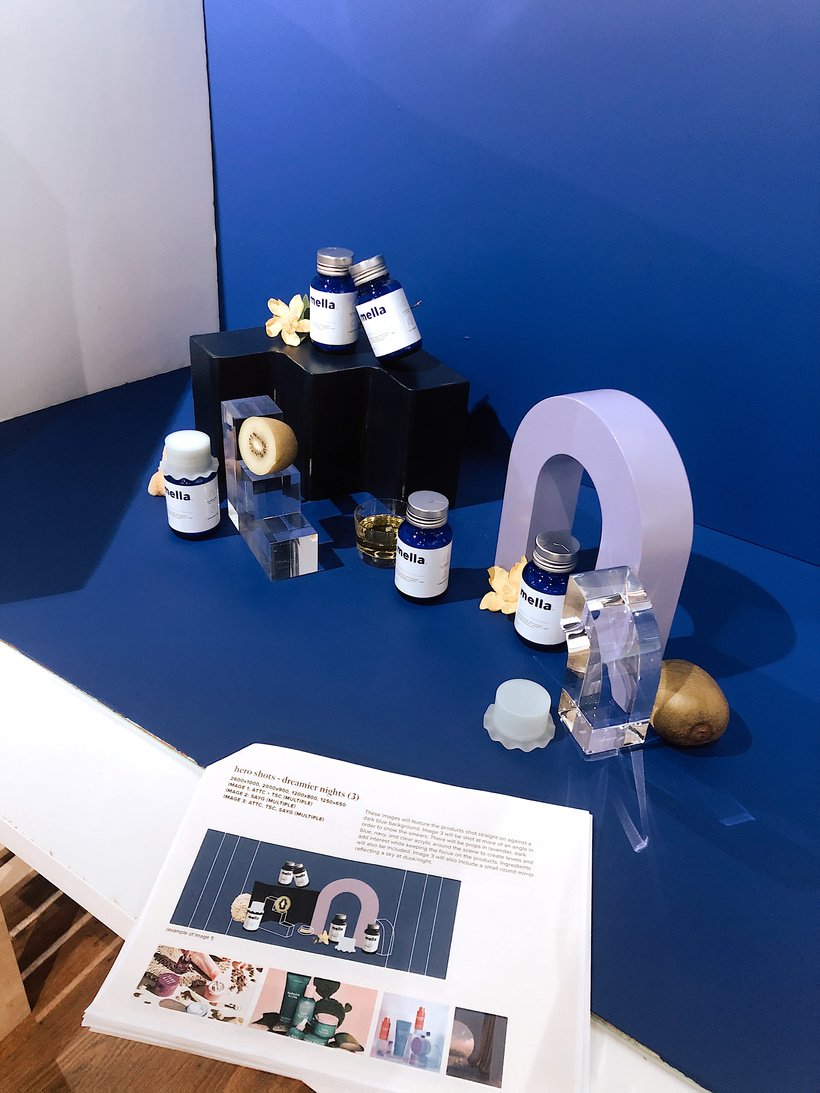
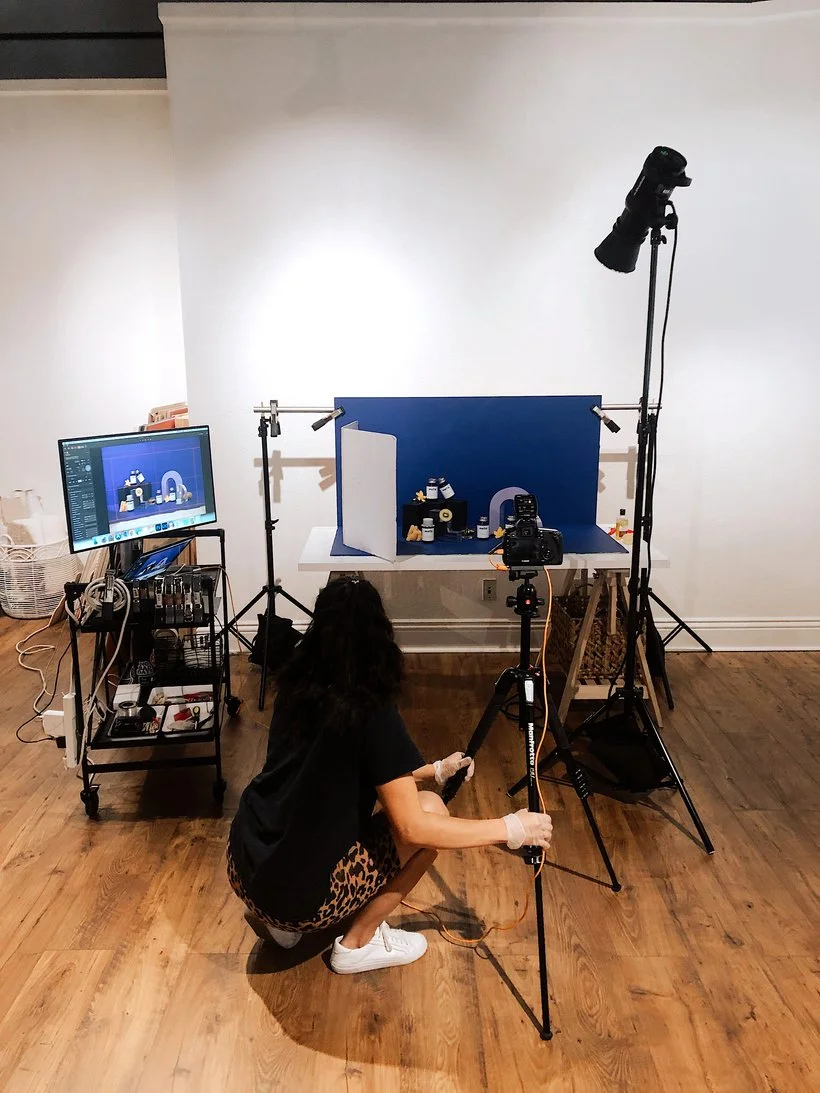
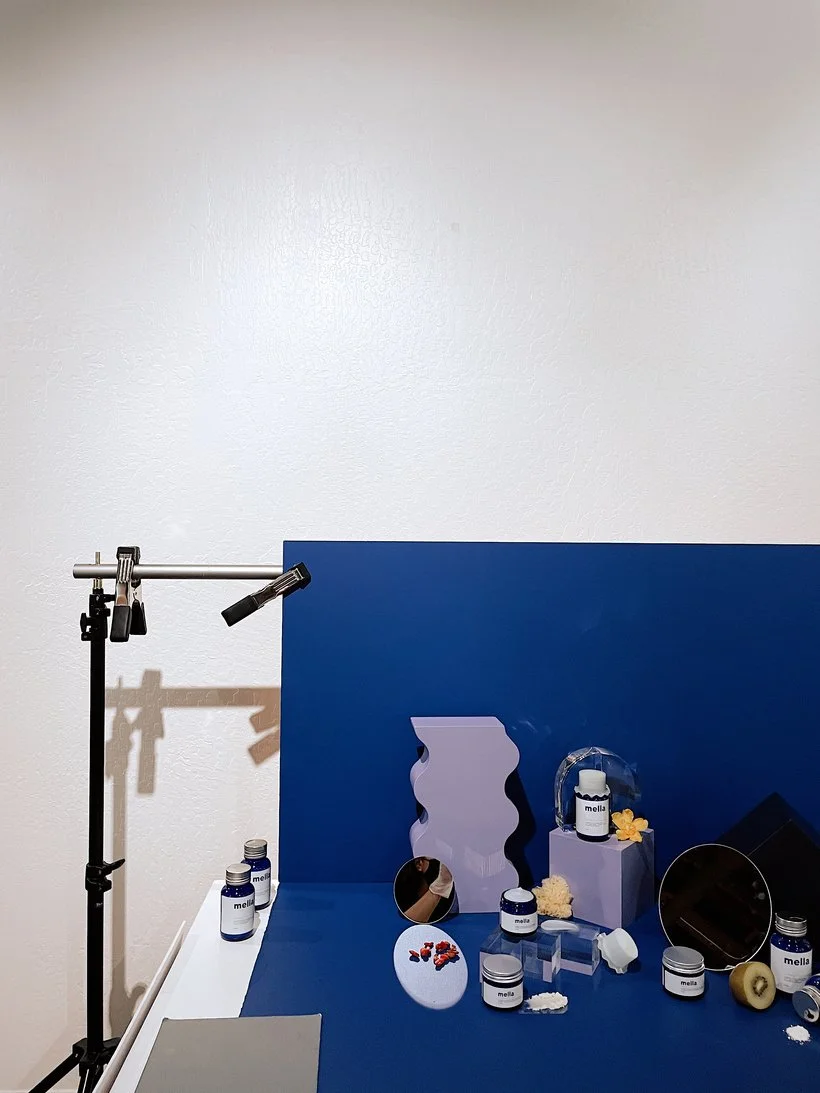
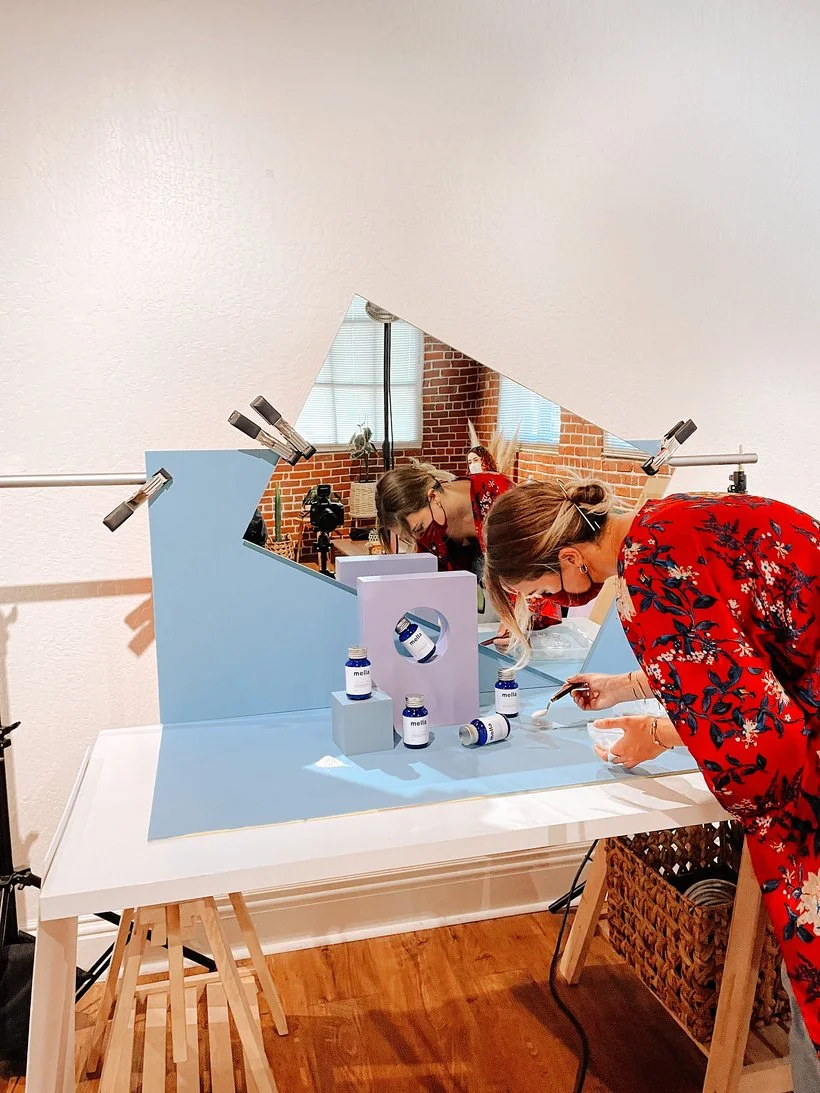
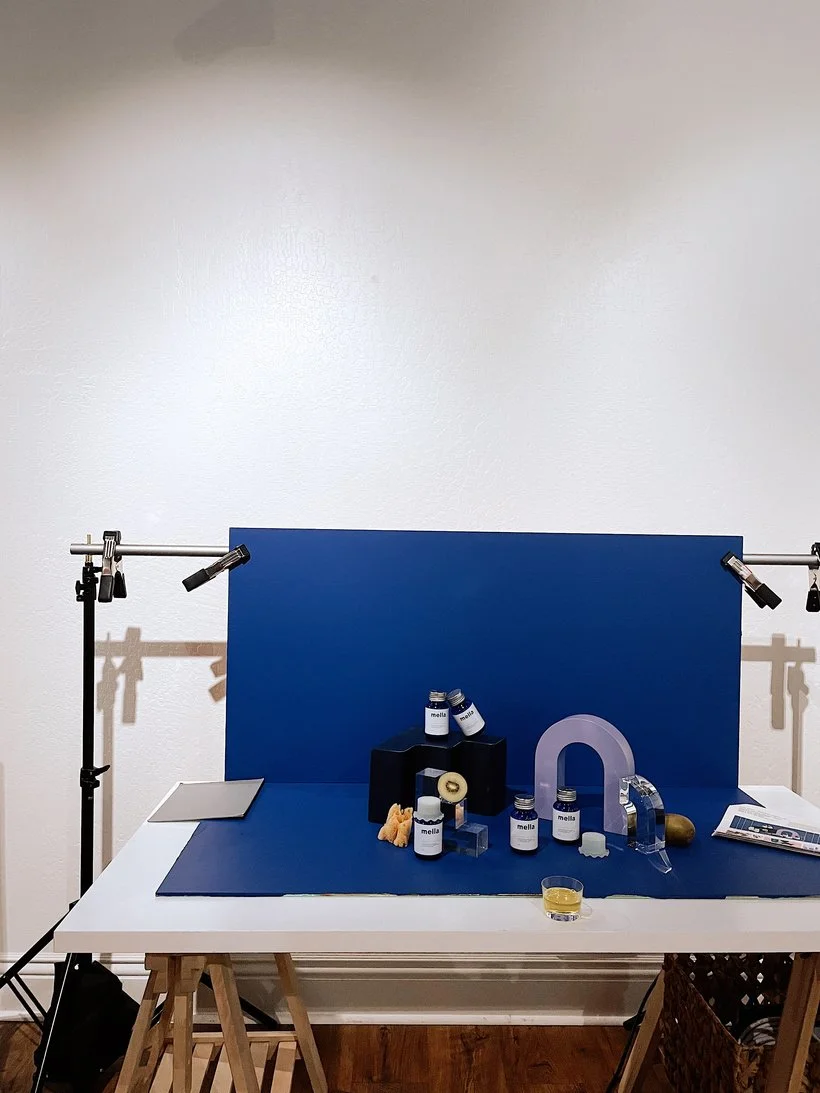
These images were shot for a new company that is seeking to change the skincare game through using melatonin and other natural ingredients. Since melatonin is typically known for helping people to sleep, they wanted to incorporate day and night into the images. We used light blue vs dark blue to distinguish between day and night and also incorporated mirrors reflecting a daytime sky and dusk sky with clouds (photoshopped in later).
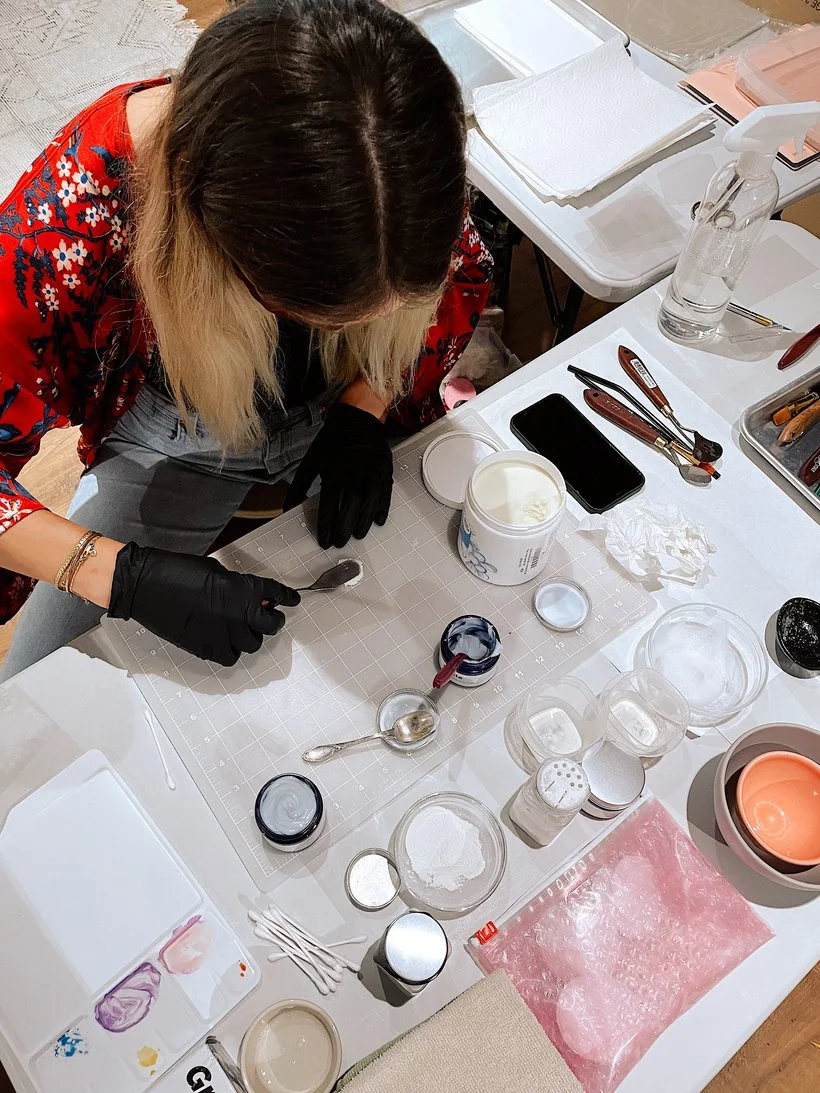
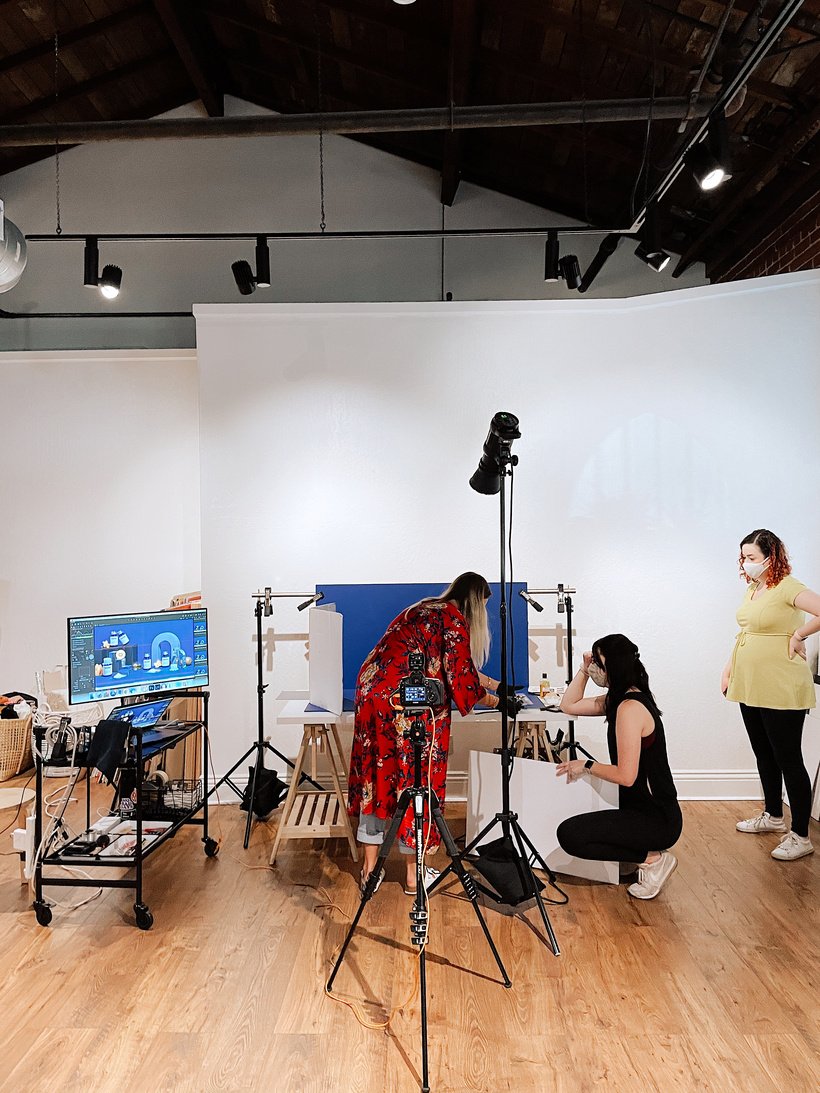
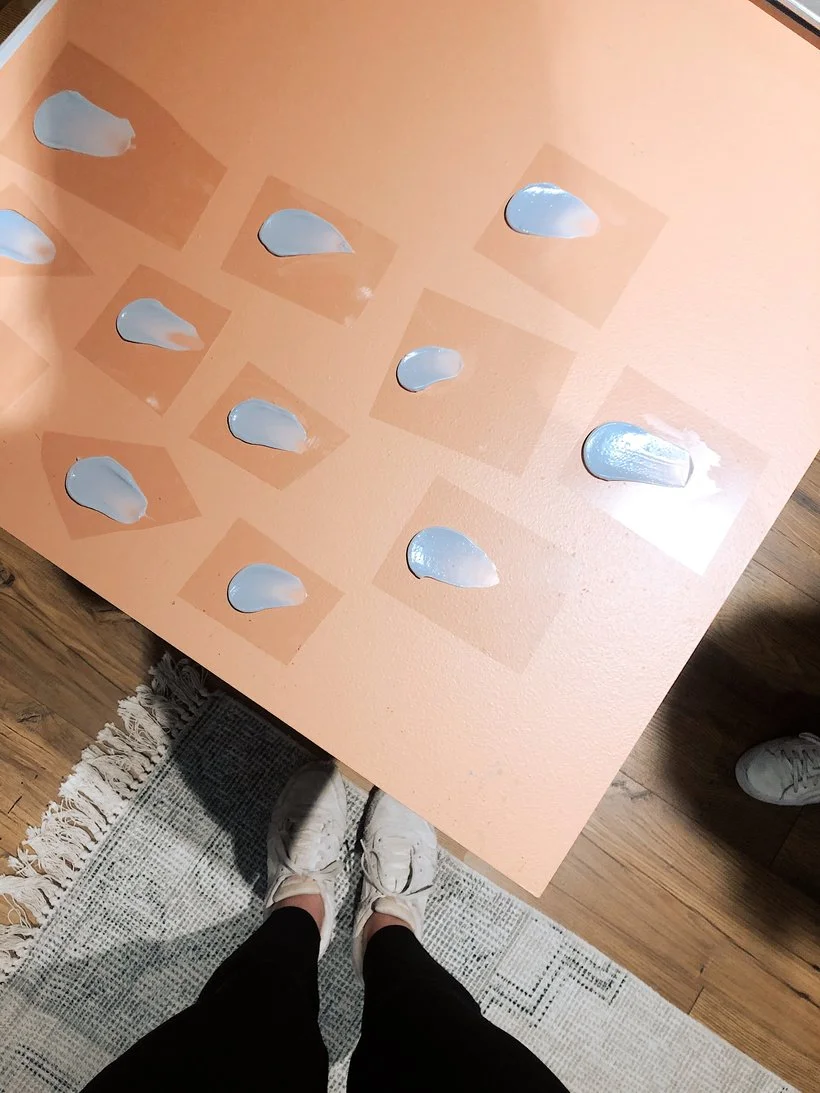
There was also a focus on ingredients and textures. Now, anyone who has ever tried to swatch products to show texture knows how insanely difficult it is. I've done it in the past, but it's always been a challenge and it can really slow down the shoot and cause stress on the day of so I decided to hire a texture stylist for the first time ever. Honestly this was one of the best decisions I've made haha.
Having Natalie on set made my job so much easier and gave me so much more confidence in the final shots. I definitely recommend connecting with some texture stylists in your area if you shoot a lot of skincare and don't want to have to worry about this side of the shoot yourself. Find out what their typical rates are so that you can include it in your estimate (don't forget to upcharge a little for your communication time).
If you are planning on doing your own texture styling, one tip is to cut squares of transparency paper (like what you would use for projectors) and create a ton of swatches at once. This way you can easily add them to the scene, move them around, or switch them out. You'll see an example of this in one of the images below.
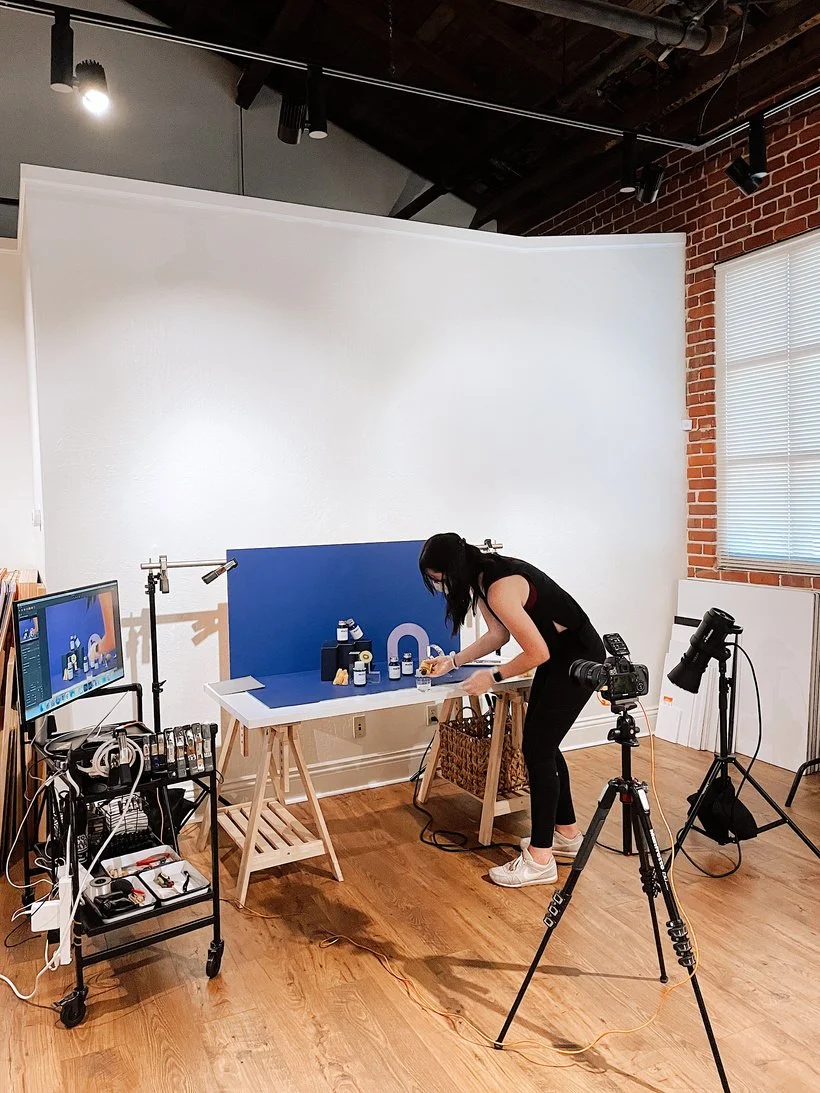
We leaned heavily on our Moodelier pieces and also purchased some fun acrylic shapes from Poketo to add another fun element. We also took some images with models but I unfortunately don't have any BTS of those as we were so focused on getting everything done haha.
I can't wait to share the final photos but for now, take a look behind the scenes below and feel free to ask any questions!
Is it the weekend yet?
Elle