

Camera Settings for Strobes
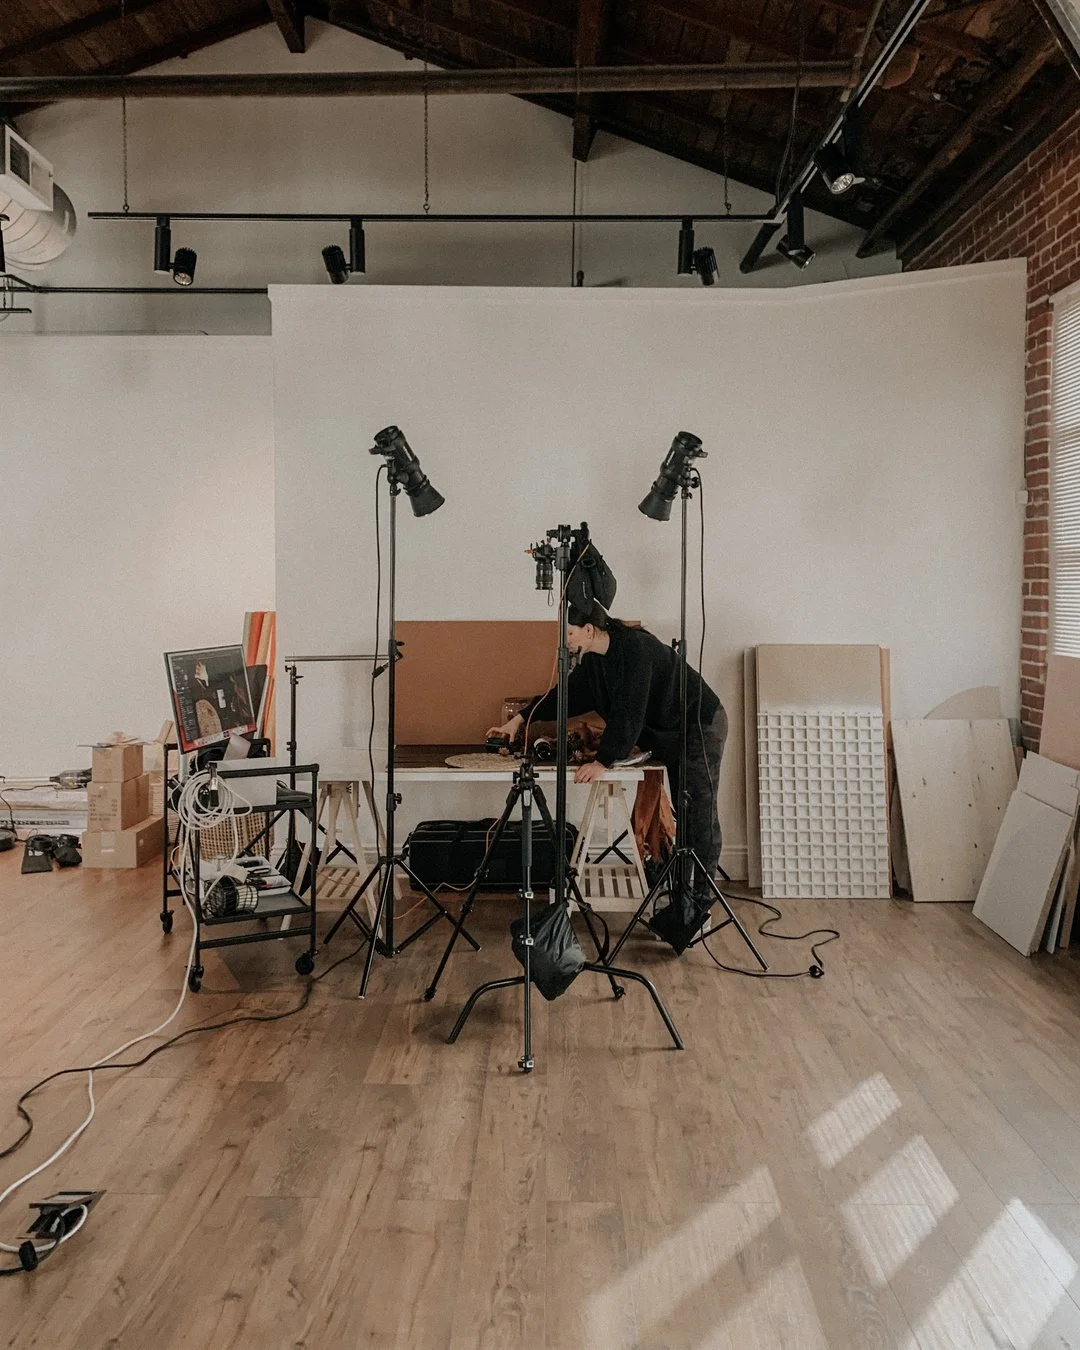
Hey everyone! Thanks for bearing with us as we get back into the groove of things. :) That post-holiday slump is no joke, haha! I wanted to get into the topic of camera settings because it's one of those things that certainly took a bit to get used to when it came to studio work. As you all know very well, many of us end up learning a lot of what we know by experience and many, many mistakes. I vividly remember a time in college when I was shooting a fashion editorial in a commercial studio and I went into panic mode because I couldn't figure out why my images had this crazy banding going on. Eventually, I discovered that the reason my images weren't looking so hot was because my shutter speed was too fast for the strobes. Shooting in studio is very different from shooting with natural light so I wanted to go over some of the settings that I personally like to use when photographing in a creative space with studio lighting.
While this post is definitely dedicated to those that are starting to dabble in studio photography, I always encourage photographers to learn how others work because it will only strengthen your knowledge about the technical aspects of photography. I'll also quickly preface this post by saying that this is what has worked for us, I know many other photographers that work very differently so I encourage you to just practice and try various things until you find what works for you. At the end of the day, as long as you are able to achieve what you set out to shoot, then you're doing an awesome job.
First things first, always shoot in RAW format and in manual mode. In order to create high quality imagery (or GIFs) you'll need to be shooting in this format and mode to really be able to take advantage of everything your camera has to offer. Most of you probably already know this but for those just getting started, these two settings are key! You'll be able to take high quality photographs that will also make it very easy to edit later in post because of how much detail and information there is in a RAW image. Shooting in manual will also give you the control you need to achieve your desired results without letting your camera decide the settings for you.
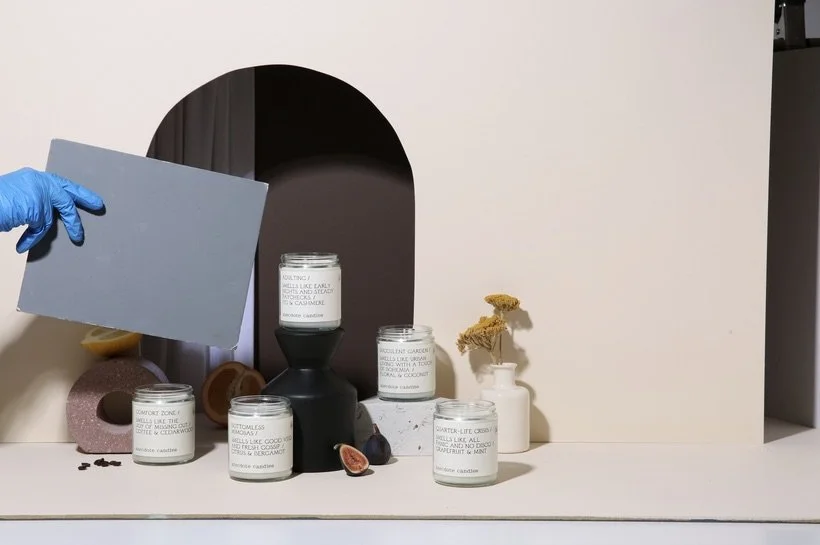
The reason we recommend always shooting in manual mode is that not only will you have an easier time editing your images but setting your white balance during the shoot isn't as necessary because you'll be able to adjust it later in post. We like to set our white balance on auto because we've gotten in the habit of always shooting with a gray card. The gray cards helps us balance out the colors in our images and makes it extremely easy for me to correct later when editing. Typically, we'll take a new "test shot" with a gray card in the shot for every different scene we're shooting.
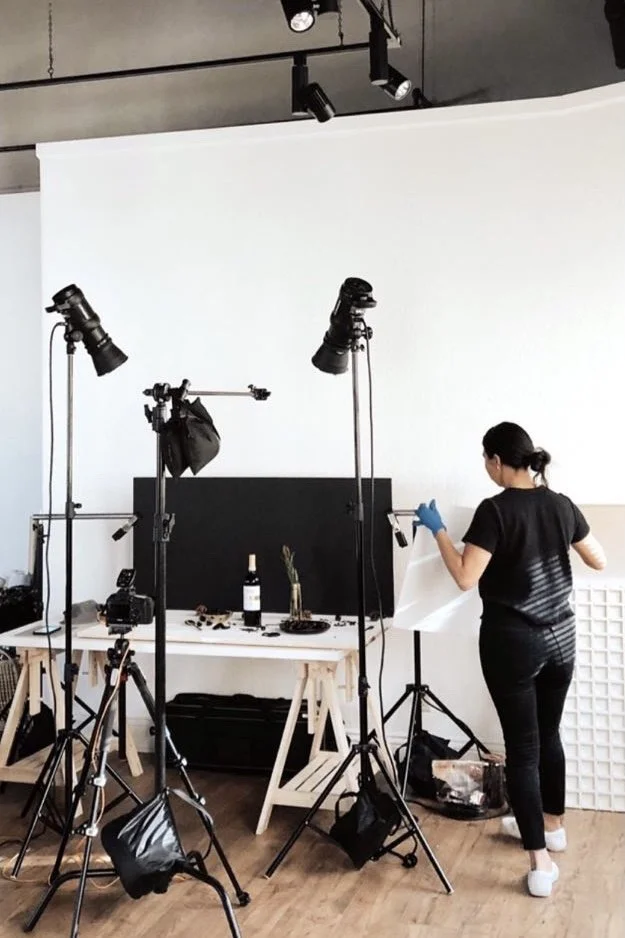
Next, you'll want to set your shutter speed, ISO, and aperture. I know many photographers who use a light meter to help them with their settings and I think this works especially great for those who are shooting portraits and/or are shooting with multiple lights (key, fill, etc.). However, most of our setups tend to be pretty simple using only one strobe to shoot our work and so I've found that our personal sweet spot for settings is typically a shutter speed of 1/125, ISO 125, and an aperture of f/13 or f/14.
I highly recommend setting your shutter speed first because like I mentioned earlier, you want to make sure that your camera's shutter isn't too fast and remains open long enough that that it's able to let your strobe fire off and light your subject. Otherwise, you'll get some pretty gnarly photos where black banding is occurring. Yikes! 1/125 is a pretty universal shutter speed for most cameras but if you want to be extra sure, just research your camera's sync speed and it will tell you what shutter speed will be appropriate for strobe lighting.
To select your ISO, I recommend starting at 100 or 125 simply because you'll be working with some pretty powerful lights and so you likely won't need to bump this setting up like you would normally when shooting in natural light. You can always adjust the ISO later if you need to but an ISO between 100 and 200 should be a great starting point.
Lastly, your aperture will most likely be determined by the type of lighting you're using but for product photography, it's very typical to want to have everything in focus unless you're going for a different look. We like to start somewhere around f/13. From here, I'll take a test shot and if my image is too bright, I'll go for a smaller aperture like f/14 or higher. If it's too dark, I'll adjust it to a larger aperture such as f/11 or lower. Like I mentioned before, a light meter can be used to quickly tell you what aperture to use with your set up but I personally like to see how my images look and adjust accordingly. Another way that you can adjust your exposure without messing with the aperture is by simply adjusting the power of your strobe or the placement of the light itself.
Believe me when I say that we still go through a lot of trial and error during shoots especially when we're testing out a new lighting technique. There will always be adjustments and changes that need to be made in order to get to our final result so I encourage everyone to just keep practicing and shooting. Start out with some of these recommended settings and see how it goes for you and adjust from there! Hope you guys enjoyed this quick and dirty post. Let us know what tips you guys have found for your camera settings by dropping a comment. :)
Is it the weekend yet?
Arabela