

Keeping Your Sets Clean
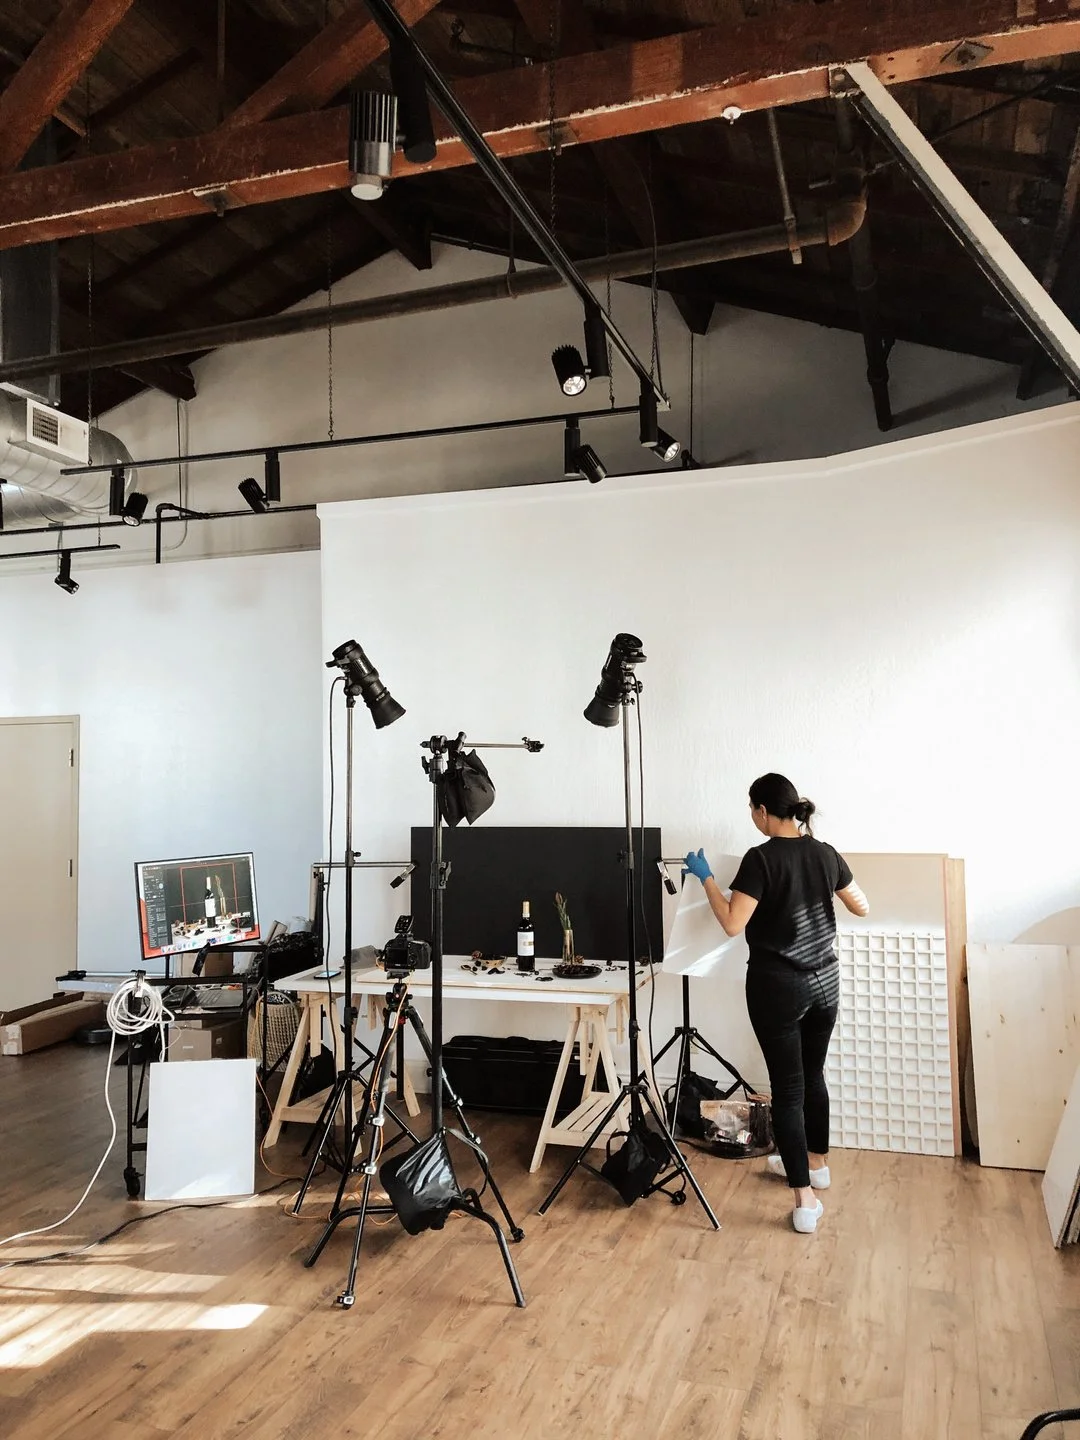
Hey guys! Happy last week of January. 2021 is already flying by and probably for the better, tbh. 😅 Hope you're all doing well and staying healthy. We're finally approaching rainy season here in the Bay Area (we really needed it) and our space suddenly feels cozier being inside while listening to the sound of the rain. Before I get any cheesier, I would love to share some of the things we've learned over the past few years about keeping our sets clean. Basically, we want to help you not slam your head on the keyboard because you forgot to clean your set before shooting. Not sure about you but dust, smudges, and uneven texture is the bane of my existence which is why I'm constantly cleaning our sets whenever possible. Like we always mention, whatever you can do to fix in camera and during your actual shoot, will greatly help you as your retouching your images later in post. Let's dive in, yeah?
Dust + Smudges
Alright, dust is sort of inevitable. Just putting that out there because no matter what you do, there will always be SOME dust in your images. However, there are several things you can do to effectively reduce this problem. For starters, always have a few microfiber cloths on hand. Any other regular cleaning rag may work great when wiping down glass or acrylic but having at least one microfiber cloth will be super effective in picking up dust and removing smudges from surfaces, materials, props, and products. Having a few cleaning solutions like glass cleaner and an all-purpose cleaner will be great for wiping down any hard surfaces like tile, plastic, or acrylic.
We also recommend having some sort of air duster or blower to further help remove any dust in hard-to-reach spots. An air blower can also come in handy when you need to clean out your camera's sensor. Next, you'll want to have a handy box of latex gloves so that you can wear them throughout your entire shoot. I can't stress this one enough as it's probably the easiest way to make sure you're not leaving any fingerprints, oils, and smudges on any of your props, products, or backdrops. Lastly, a small handheld dust buster that has a brush attachment is great for cleaning your backdrops during set up and after the shoot. It's just a great tool all around, haha!
Food + Liquids
When working with food items and beverages, we strongly recommend having a separate area or space to prepare the food. The last thing you want is to be slicing a juicy fruit next to your set and suddenly all of that liquid is splashed onto your scene. Food is quite messy so if you're planning on photographing a specific item that is particularly "moist" (haha anyone hate that word?) then having some transparency film sheets or a thin layer of acrylic will be super useful to place underneath food items.
If you're planning on adding liquids to a glass or container that's already set up in the shot, we recommend using a plastic syringe to get the job done. These little plastic things have been so useful for us and the key part is you'll want to disperse the liquid slowly into the container so you're not splashing the liquid everywhere. Another tool that can come in handy when dealing with food items is a good pair of tweezers. You can use them to reposition any food items without using your hands as well as removing any funky fibers or hair (gross lol) that might have fallen on your scene by accident. Oh, and of course, can't forget about some good ol' paper towels.
Florals + Fabrics
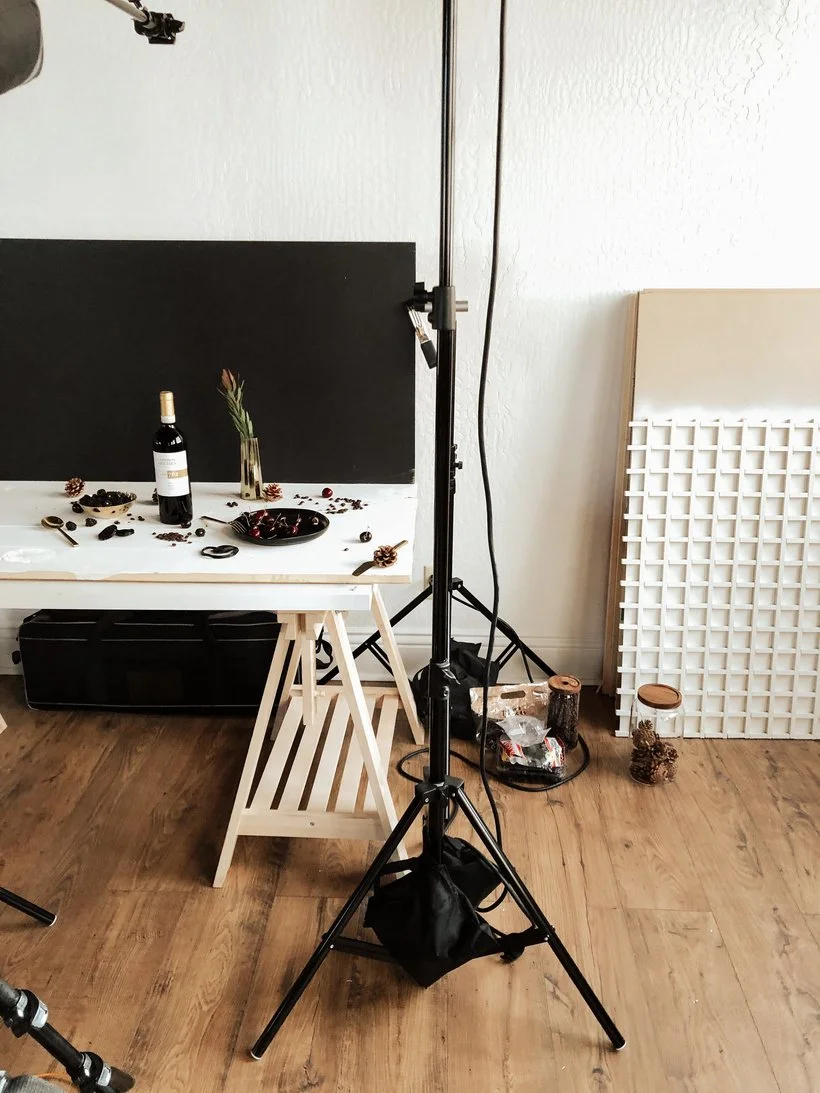
If you're working with foliage or florals, you'll want to have a pair of utility shears to help you trim any dead leaves or wilted flowers. A pair of scissors might get the job done but shears are typically sharper and will make it way easier for you to cut through stems, plants, and flowers. One thing we've found useful when dealing with dried florals such as bunny tail grass or pampas is by using any basic hairspray to reduce the amount of fuzzies released when you're styling. They can still get everywhere on set but doing this quick step beforehand will help A LOT.
Don't forget about your steamer! As many of you might already know, wrinkles can be annoying to photoshop. This is especially tru if you're using super dramatic lighting because the fabric texture is automatically more prominent. Steam as much as possible to help reduce the amount of retouching you'll have to do. Another great tool to have is an electric fabric shaver which can be super useful if you need to remove any lint or fuzzies from fabric.
Backdrops + Painted Prop Texture
Please for the love of all the photography gods out there, sand down your backdrops and props after several uses. Of course we're big fans of reusing surfaces and repainting our particle boards but after several coats, we've found that our backdrops will start to develop weird uneven textures that can come from having multiple coats, dust landing on the board while painting, and other typical photo shoot messes. Unless you like the unevenness and the texture is your jam, then it might be worth it to invest in an electric sander and some sandpaper (both coarse and fine.) If you're like us and you have multiple particle boards that are painted on both sides then an electric sander will be super useful to get the job done a lot more quickly than by hand. Sandpaper is perfect for smaller items like wooden shapes, boxes, or primed props like the ones by Moodelier.
A quick note about any spray painted props is that you always want to make sure that you're spray painting evenly and doing at least 2 coats to make sure the entire prop is actually coated completely. Otherwise, later in post you'll notice the unevenness in color or that part of the previous color is still showing through. Prime if you need to but even coats will surely help you in post a lot. Hmm.. maybe I should have named this blog post "things you can do to reduce the amount of retouching you'll have to do..." Lol!
Skincare + Makeup
This section is super simple because it's very similar to the food section in that you'll likely want to use transparency sheets or acrylic sheets for any skincare or makeup textures. Wearing gloves and using tools like palette knives to create your textures will help reduce transfer of oils and smudges.
Camera + Lenses
Last but not least, having some sort of camera and lens cleaning kit around will be awesome for cleaning your expensive equipment on the go. If you're using your camera and lenses often, I'd highly recommend taking them to a local camera shop every 4-6 months to get the camera sensor (and lens or lenses) professionally cleaned. The last thing you want is to be retouching the same dust spots that continue to show up on your images because they're sitting on your dirty sensor. We find that the cost is pretty affordable and worth it to get it done right.
Thanks for reading until the end! Although you probably don't need everything in this post, they are super helpful when it comes to retouching so unless you've got a retoucher on speed dial (haha) then I would consider stocking up your photo kit with some of these handy tools! Many of the items we mentioned can be found in our Amazon shop if you're interested in checking that out. Anyway, hope this was useful to you guys and if there's anything I missed, feel free to let us know in the comments!
Is it the weekend yet?
Arabela