

Background Ideas
Disclaimer: Some of the links below are affiliate links which means that if you click through and purchase, Weekend Creative will earn a percentage of the purchase at no additional cost to you. Thank you for supporting us so we can continue creating educational content!
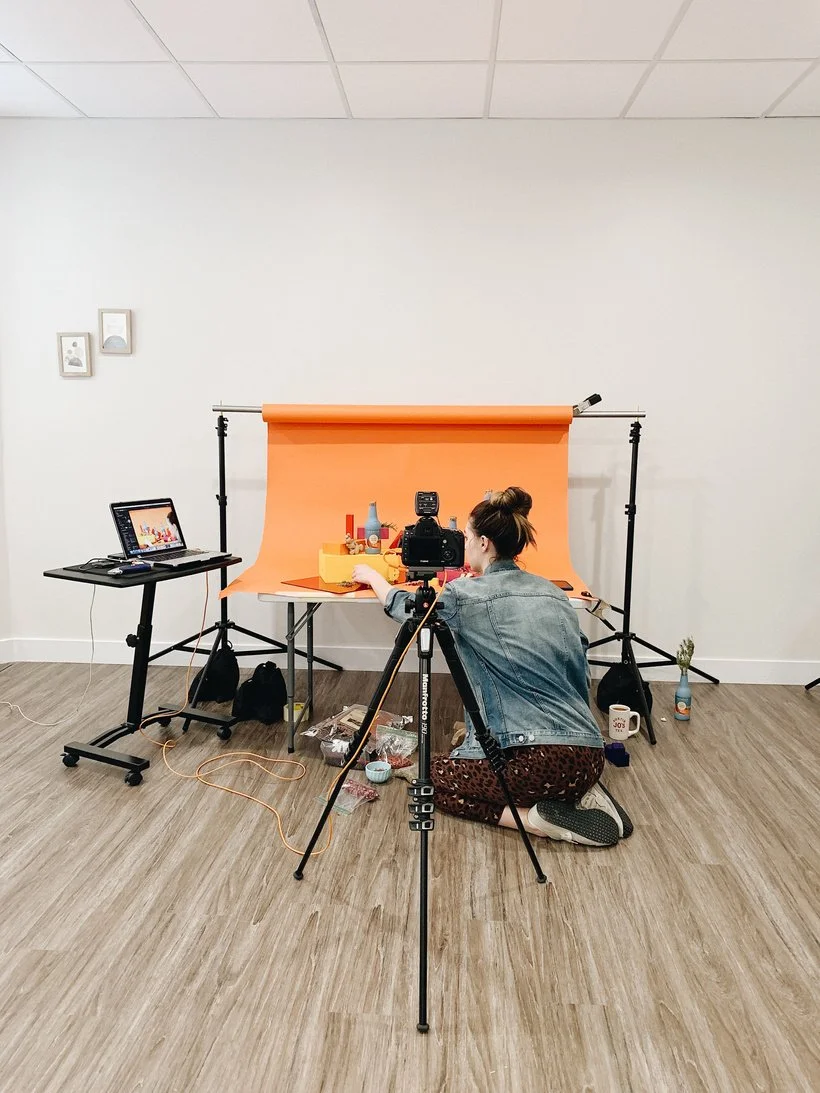
You all know we love a good background! They're important because while they are the background, they're not actually in the background if you know what we mean. They're a crucial part of every shot, and they can make or break your entire shoot. You want to choose your backgrounds carefully and make sure that they add to the story and make sense without distracting from the product.
While I can't tell you exactly which backgrounds to choose for your shoot, my biggest tip is to have the client describe the feeling/mood/vision they are going for and then make sure that those adjectives also describe the background you choose. Make sure to think about color and texture too - you want to draw attention to the product and not away from it.
Here are all the different background ideas that I could think of - I hope they inspire you for your next shoot! If I missed any please tell me what you would add to this list!
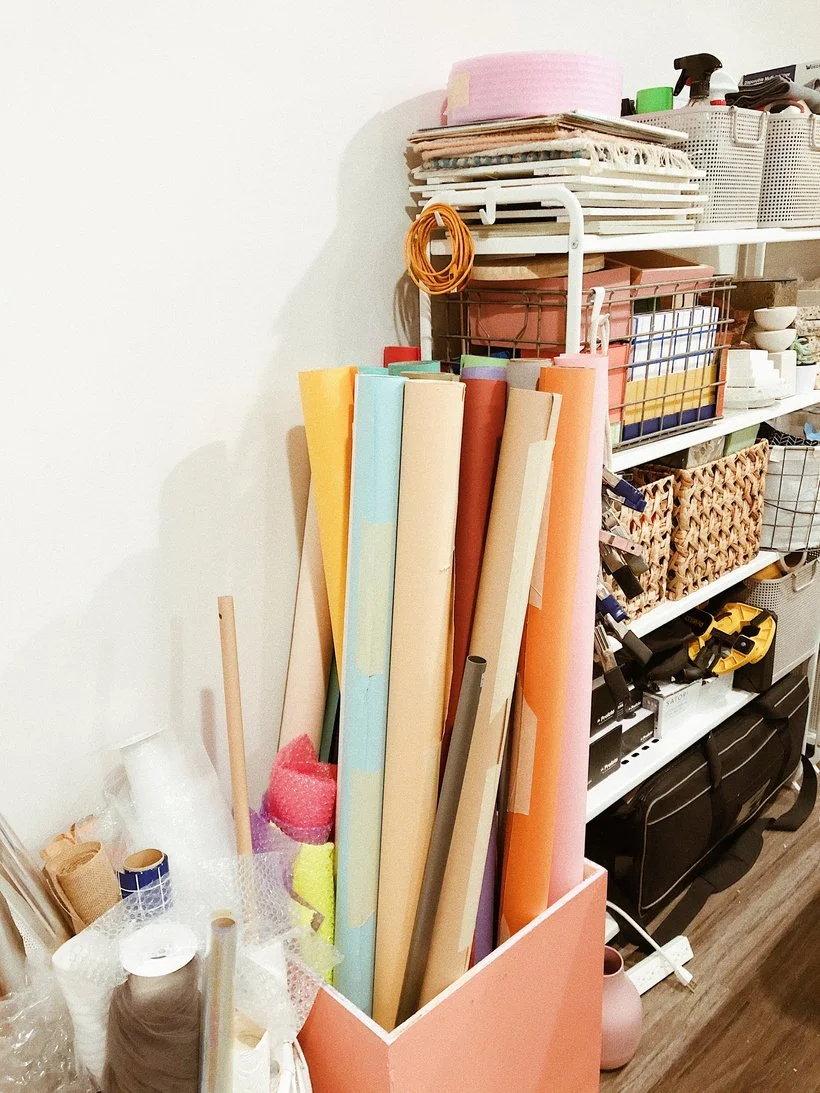
Seamless Paper
I would say that this is probably the most common background in product photography. It's what we used most when we were first starting out, and while we don't use it as often anymore, we still keep a lot of colors on hand for when the occasion arises. Seamless will give you a completely smooth background without a horizon line, and it's best for when you want to create a simple, single color environment. We buy all our seamless paper from Savage Seamless - for most product shots we only need the 53" length.
If you're working with seamless then you'll also want a seamless stand (shop ours here), clamps to secure it when hanging, and painters tape to hold it tightly wrapped when you're not using it. You will also want to store your seamless upright, it you store it horizontally it can cause creases and ruin entire rolls.
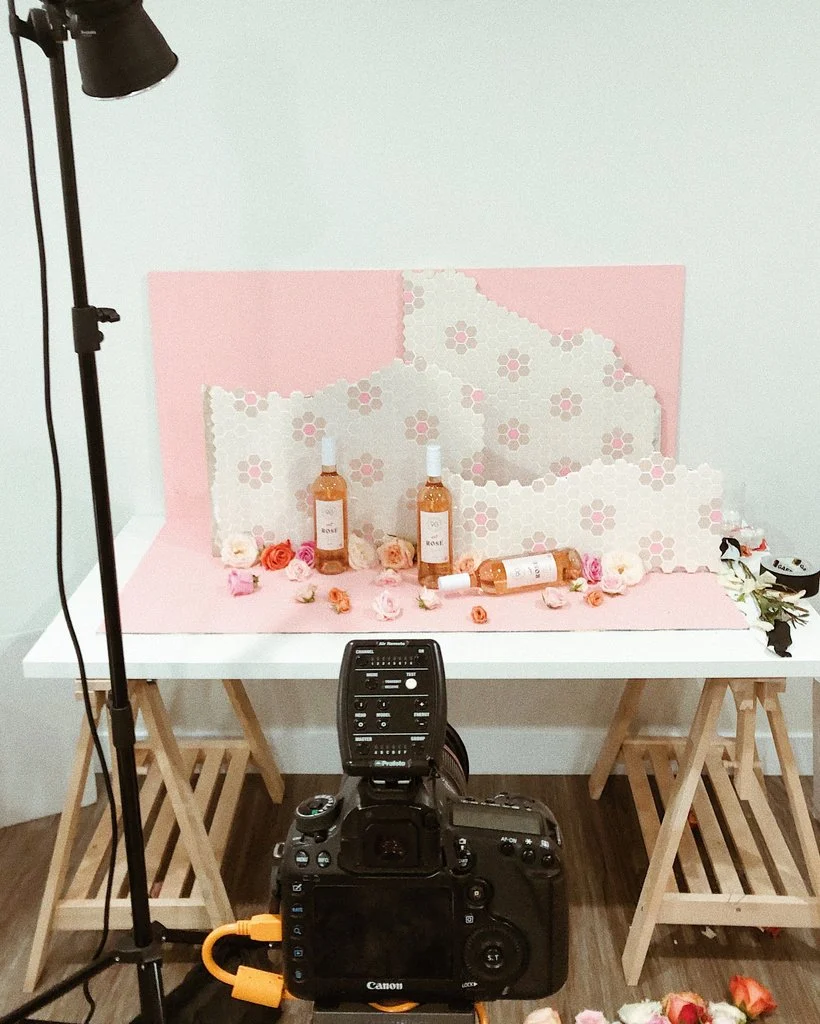
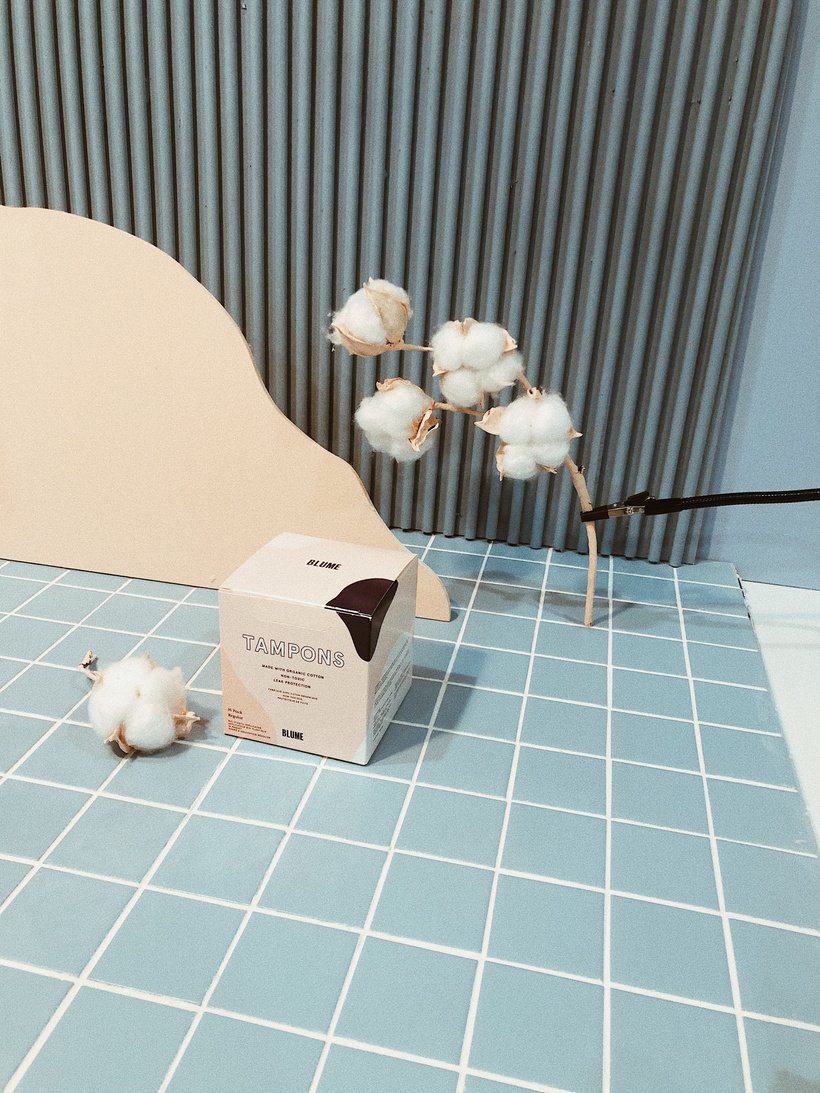
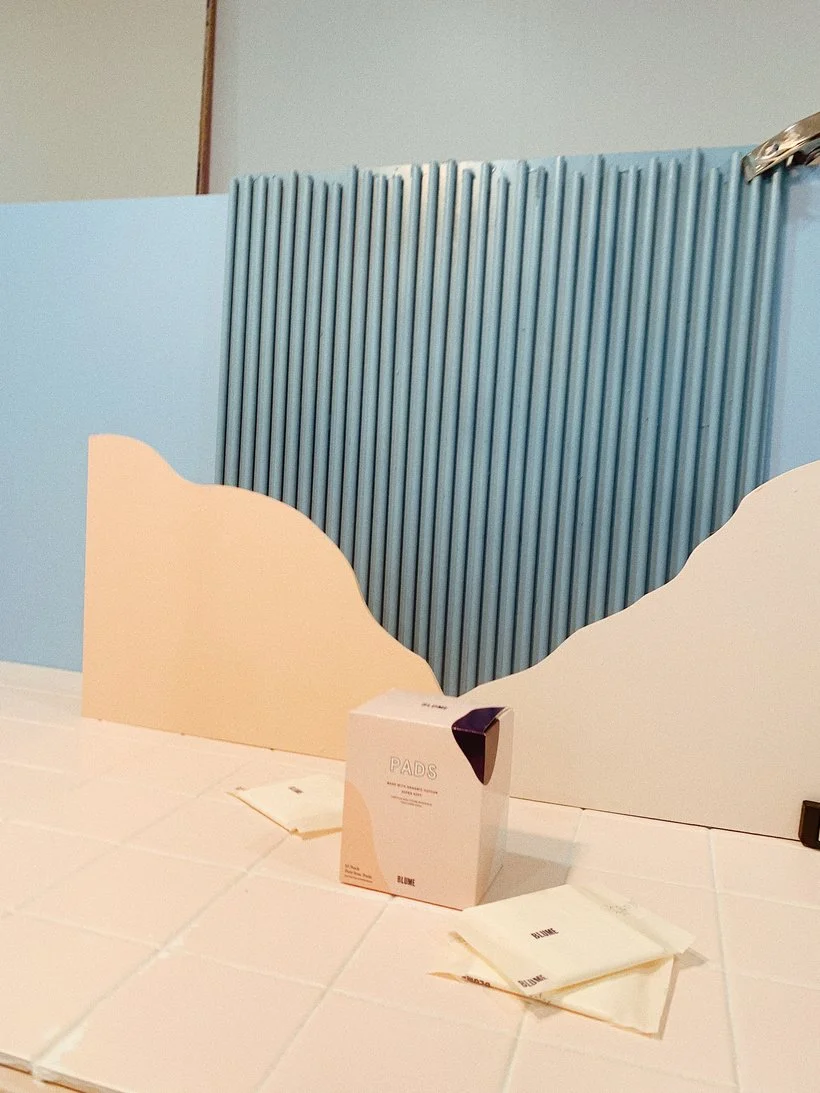
Particle Board
I already wrote an entire post that was basically a love letter to particle board and alllll the many many ways you can use it in a shoot. If you missed it, you can read it here. Because there's so much detail in that post, I'm not going to reiterate everything that was said there, but particle board is super great for any time you want a horizon line (which is most of our shoots now), a two-tone background, or need to paint a pattern. Just make sure to always use matte or flat paint (flat is less expensive if you're purchasing interior paint) and get the kind with primer in it so you only need to paint a couple coats. And always use a ruler, never a brush (unless you're painting a pattern).
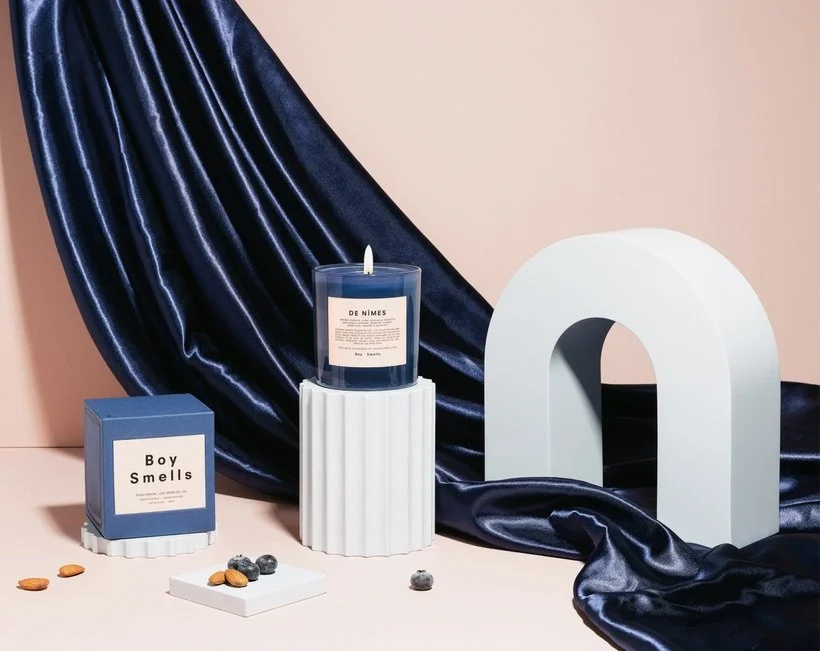
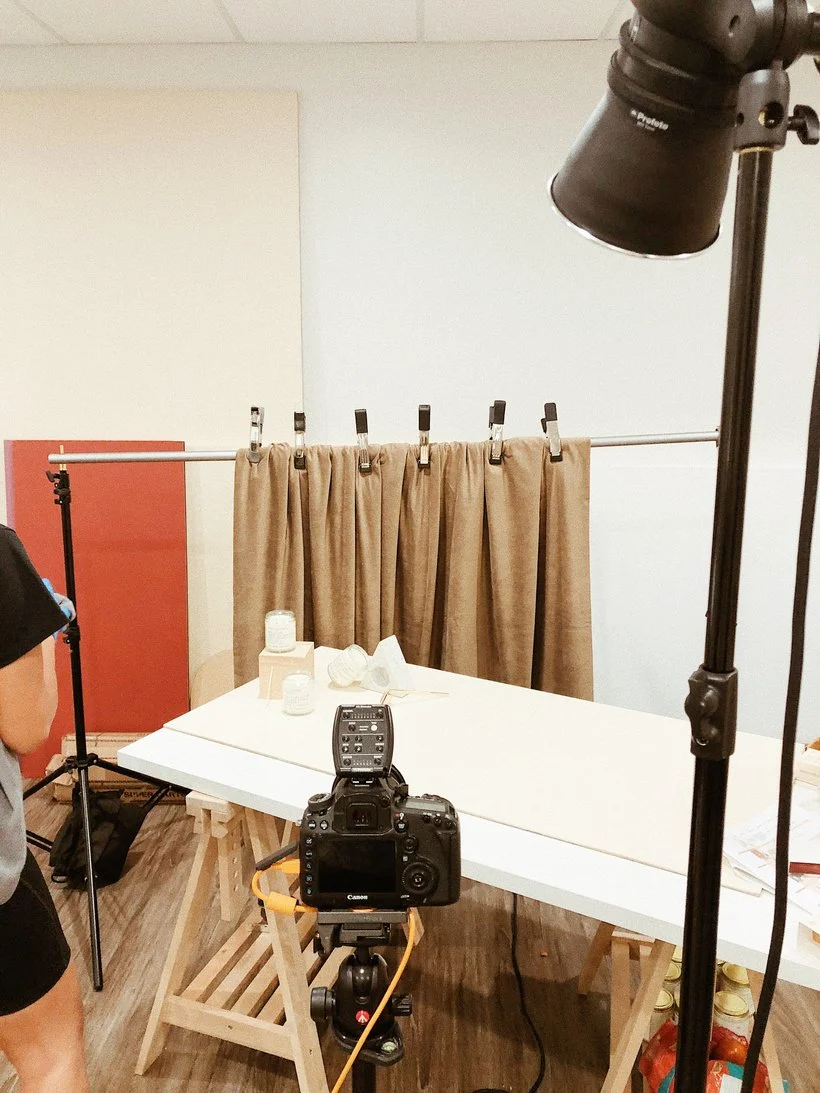
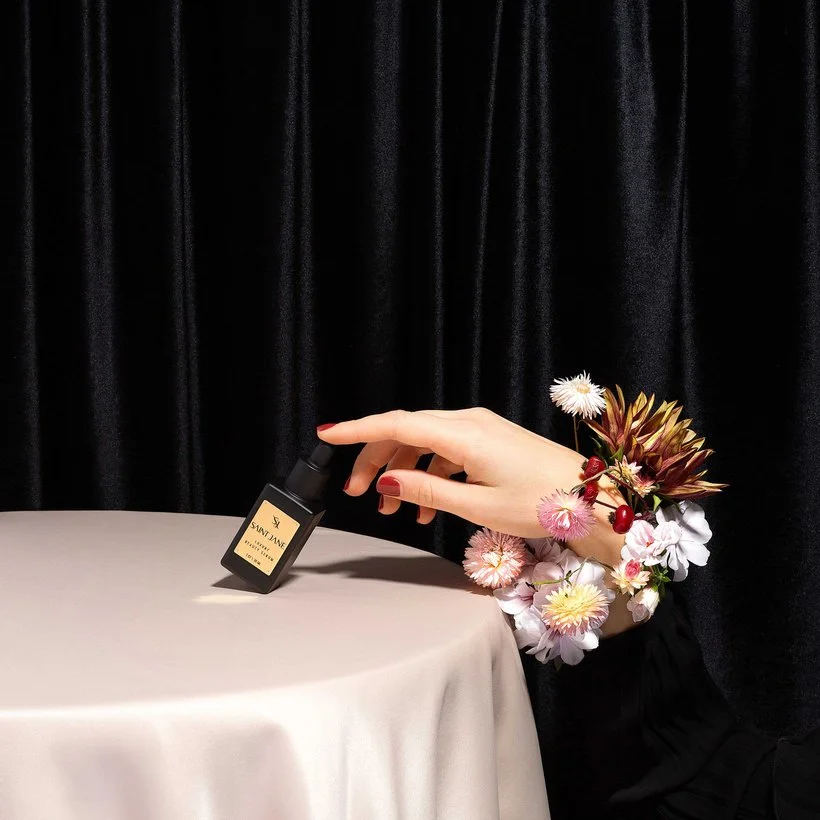
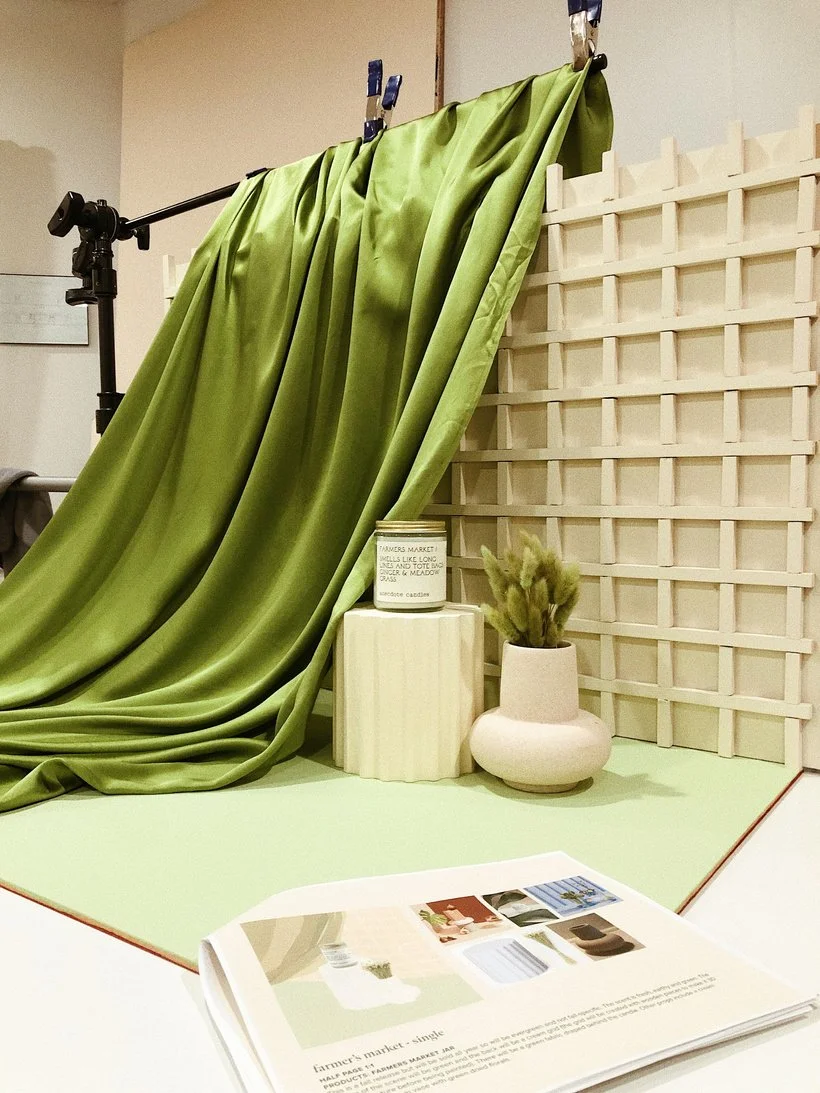
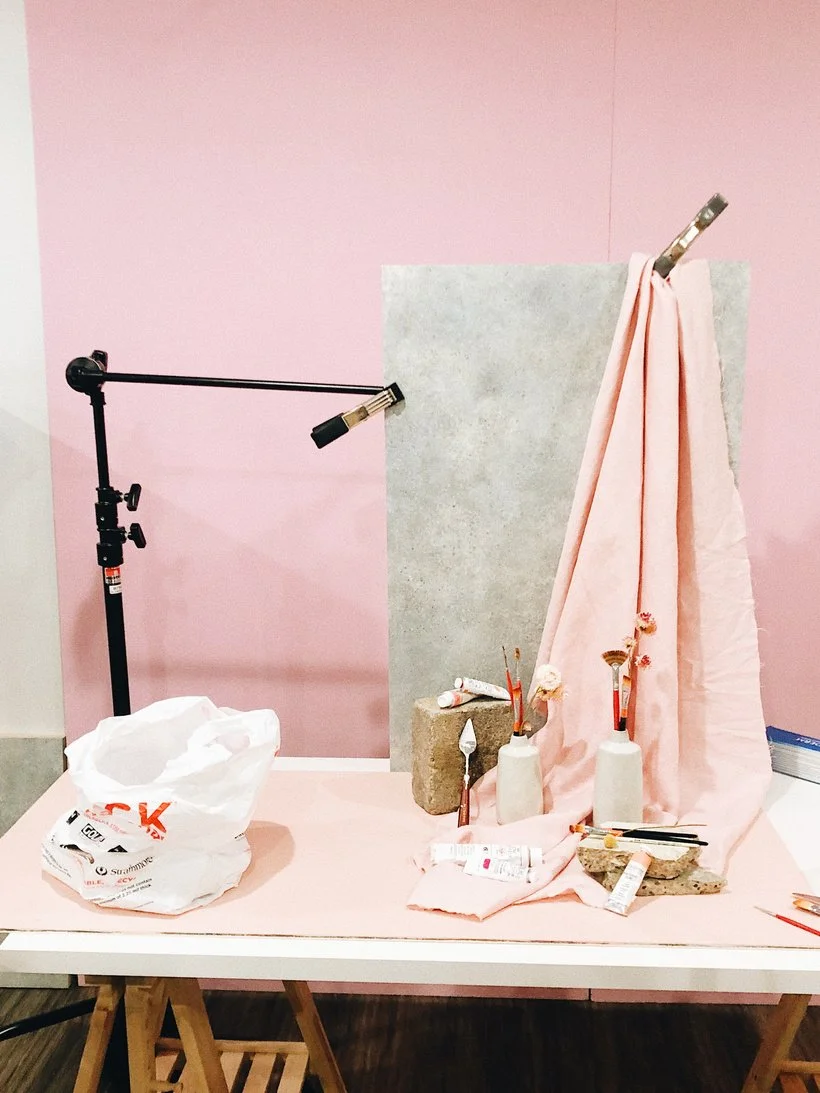
Fabric
Fabric is such a good background when you want a more organic, romantic, or textured look. You can create a curtain effect, or drape it through the scene. You can also use it almost like seamless paper to create a full background. Another thing we've played around with is putting a large clear acrylic piece over fabric to make a textured yet reflective bottom. If you're working with fabric, you're definitely going to want a good steamer to get out all of the creases and make it look really nice. It can take some practice to learn how to make a good curtain, or to get fabric to lay nicely, so I recommend purchasing some different kinds and playing around with them. We get most of our fabric from a local shop called Fabrics R Us, but you can also find a lot of fun fabrics by looking in the blanket/sheet section at your local thrift store.

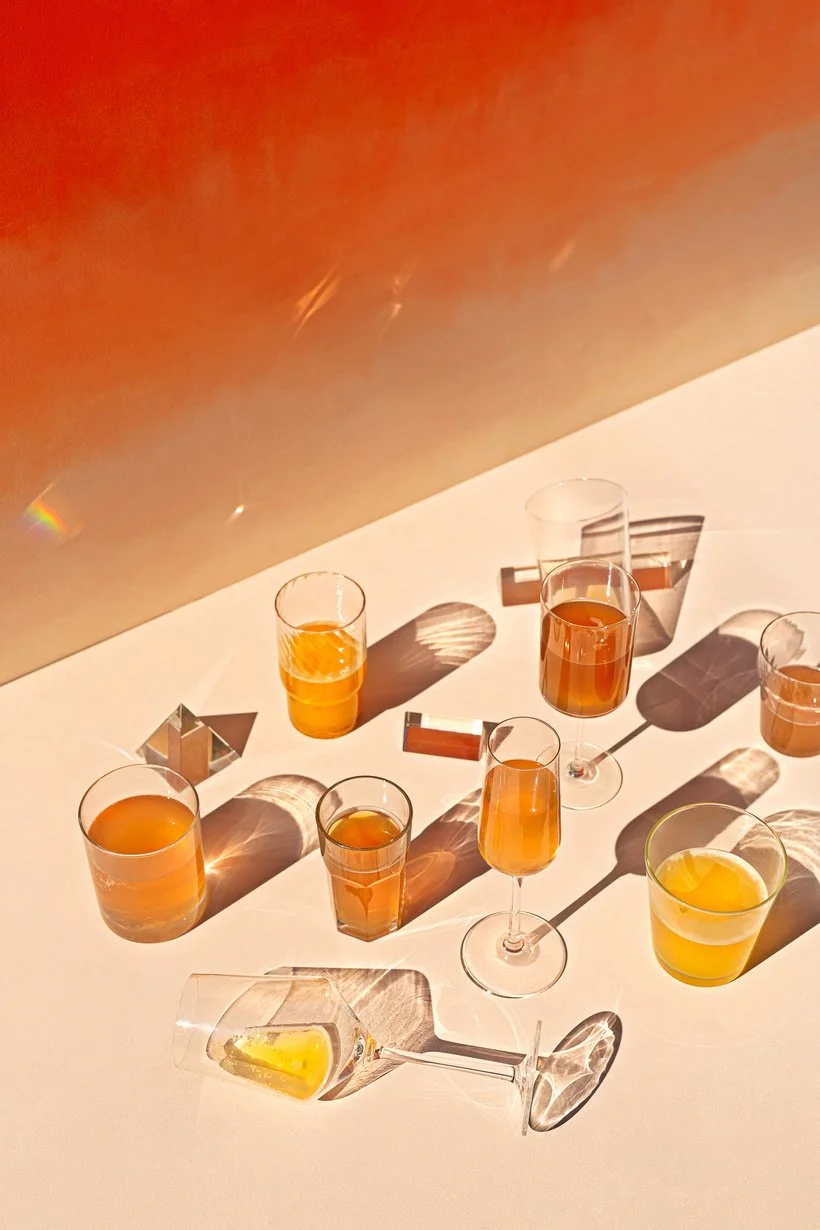
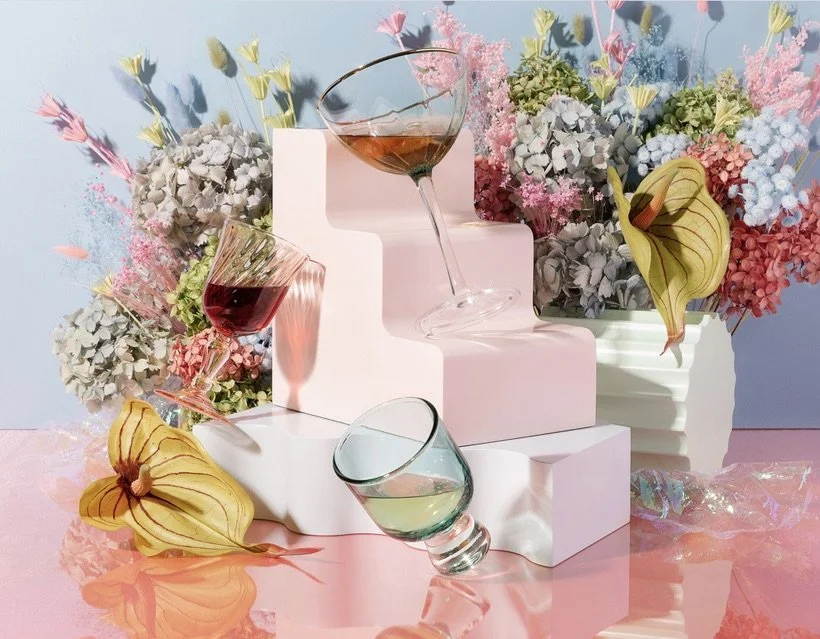
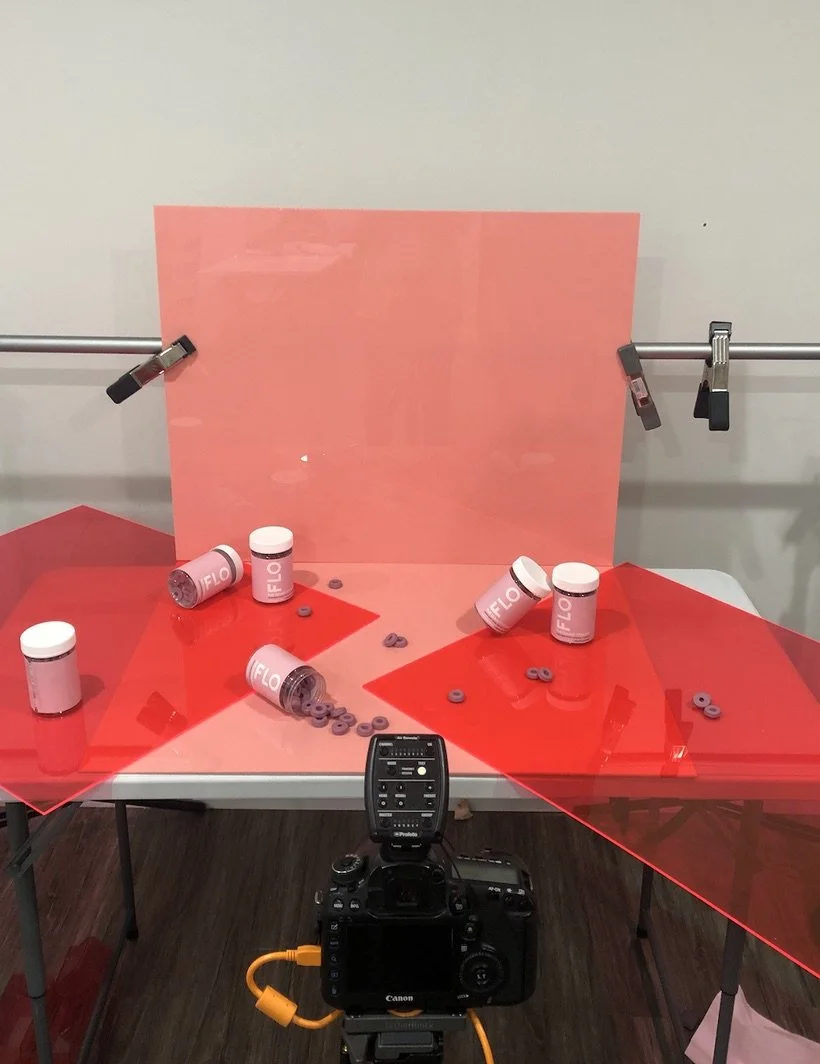
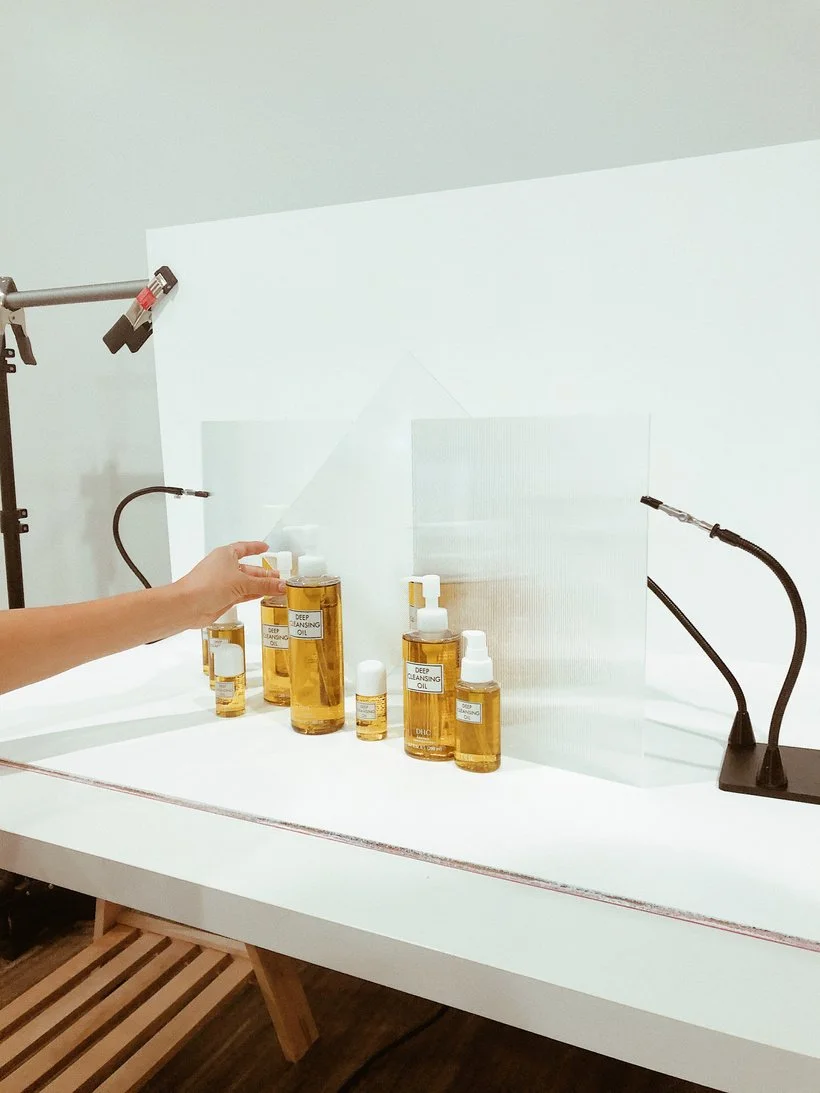
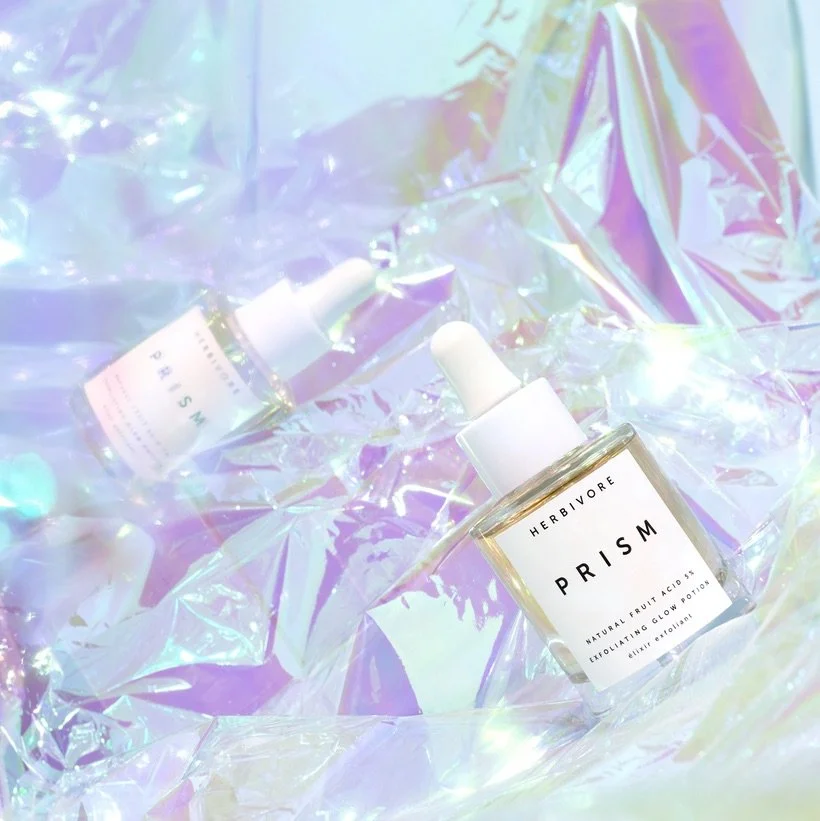
Acrylic
Acrylic is a fun and kind of unexpected background, but it can also be a little challenging since it is reflective. As I mentioned before, you can put it over a piece of fabric (or any color/texture) to create a reflective surface. For that purpose, we've found that purchasing a sheet of glass from Home Depot or Lowes (in the window department) is cheaper than a large sheet of acrylic. If you want something colored, look up local plastic shops and see what they offer. We purchase our acrylic from Tap Plastics, they have a lot of colors, and they'll even do custom cut outs with enough lead time.
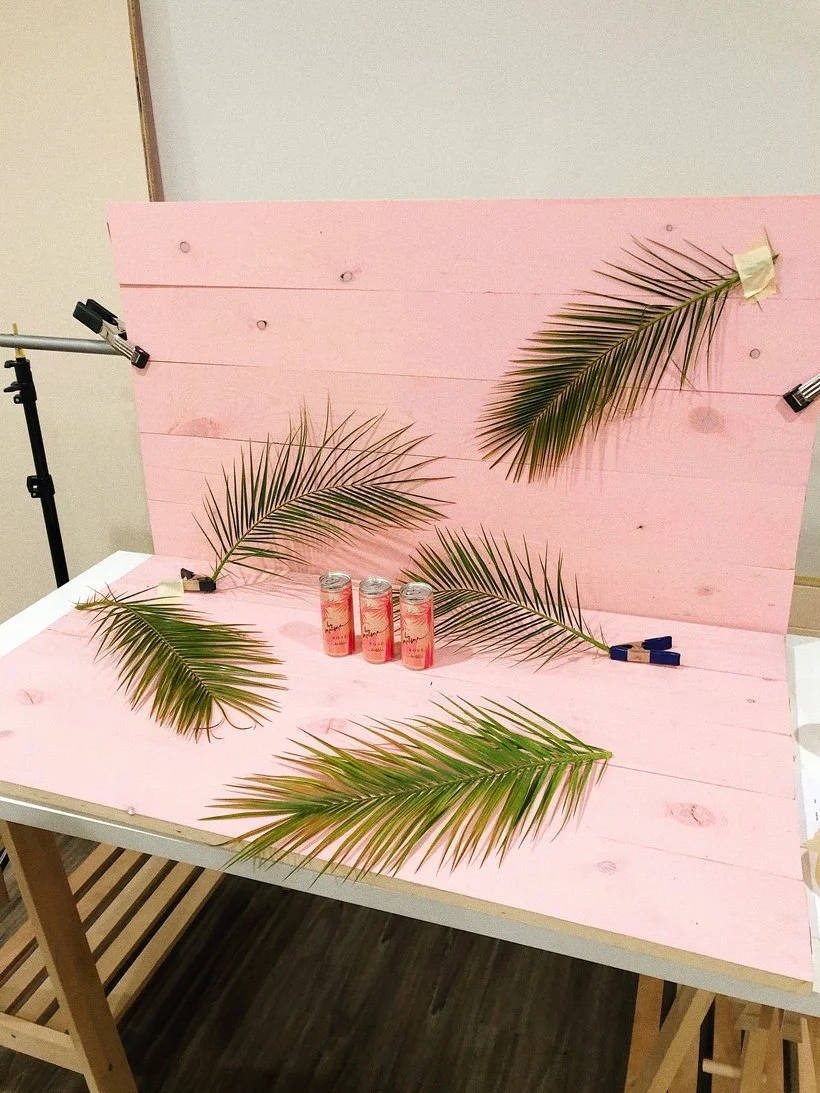
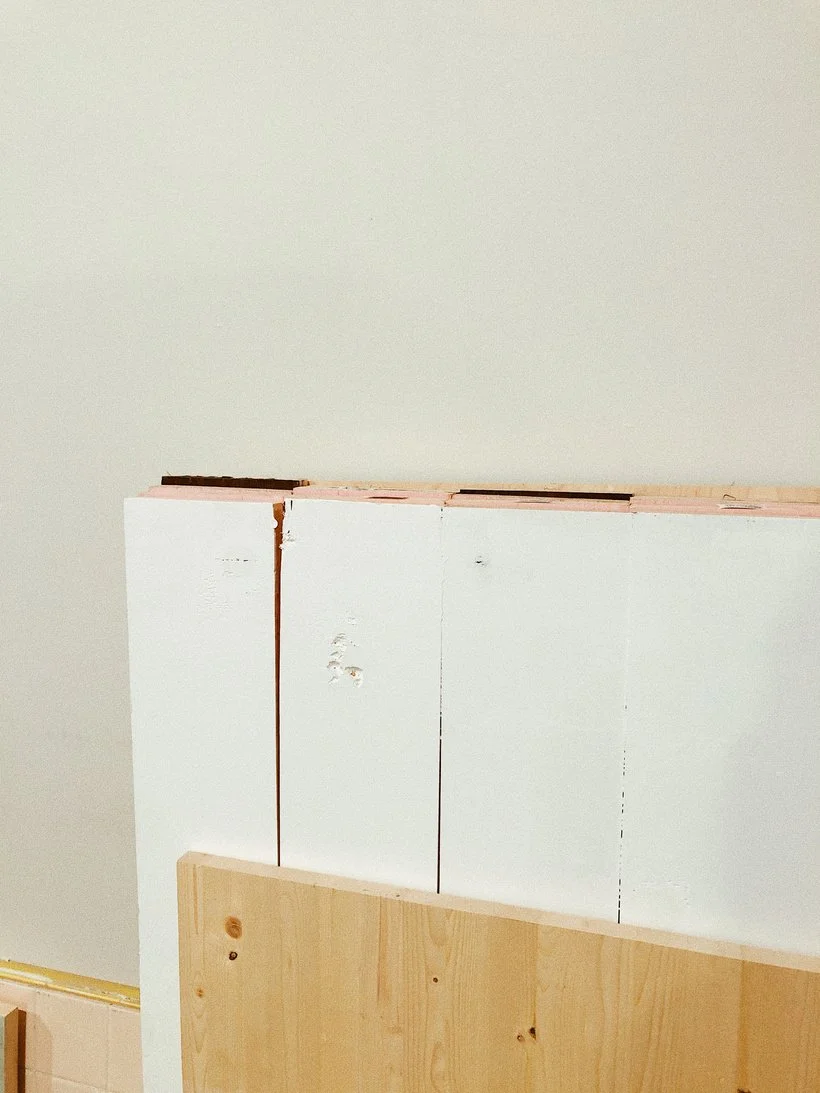
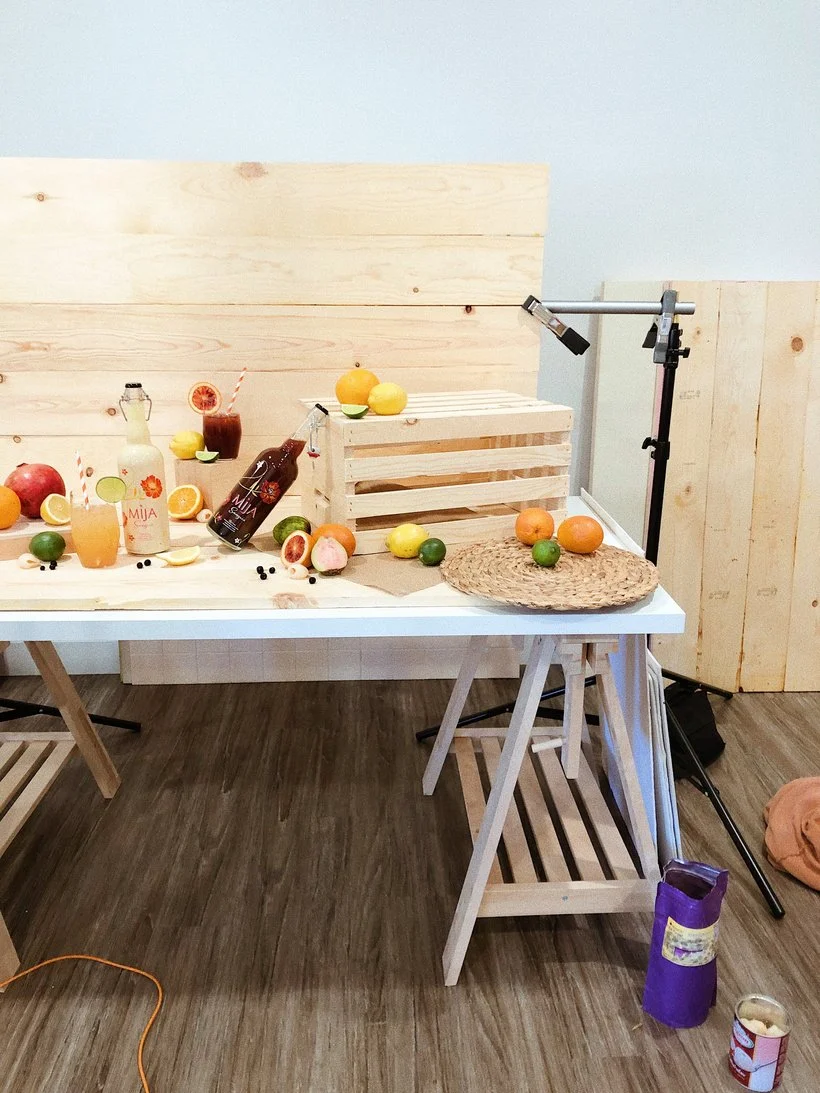
Wood - Painted or Stained
Wooden backgrounds are best for organic, nature, natural images. The easiest way we've found to make a wooden background is to buy wooden planks from the hardware store and use wood glue to connect them. You'll need clamps to hold the glue together while drying, but other than that, it's super easy! You can paint or stain each side a different color if you want, and we've even found a pink wood stain at Home Depot that came in handy for a girly, beachy shoot we did.
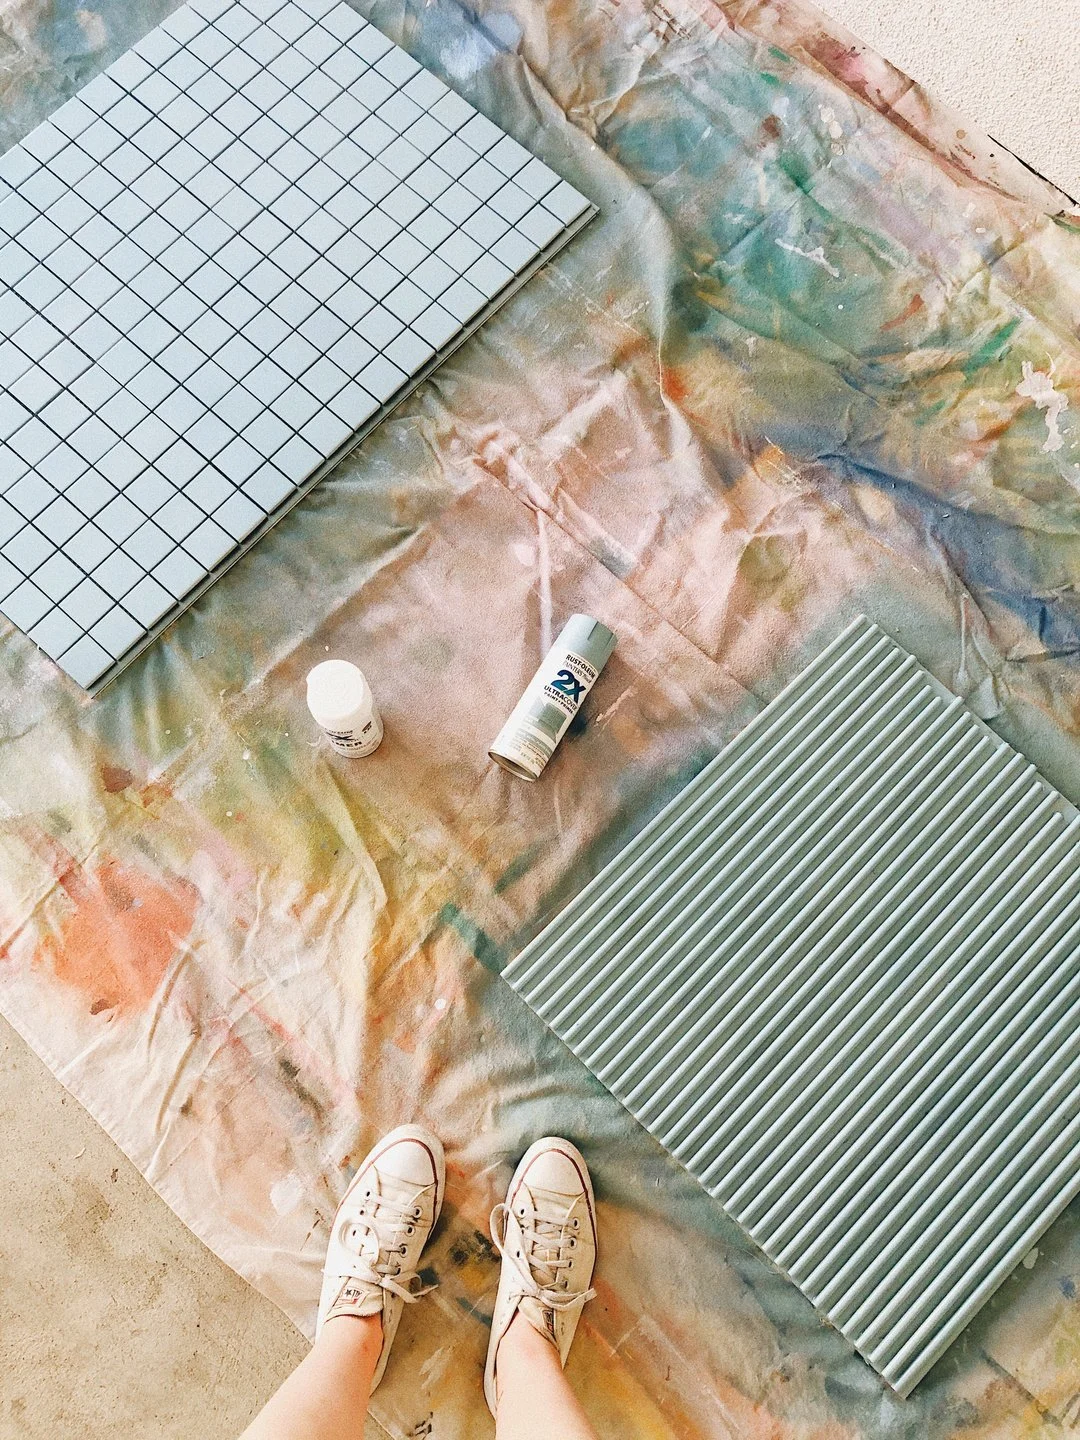
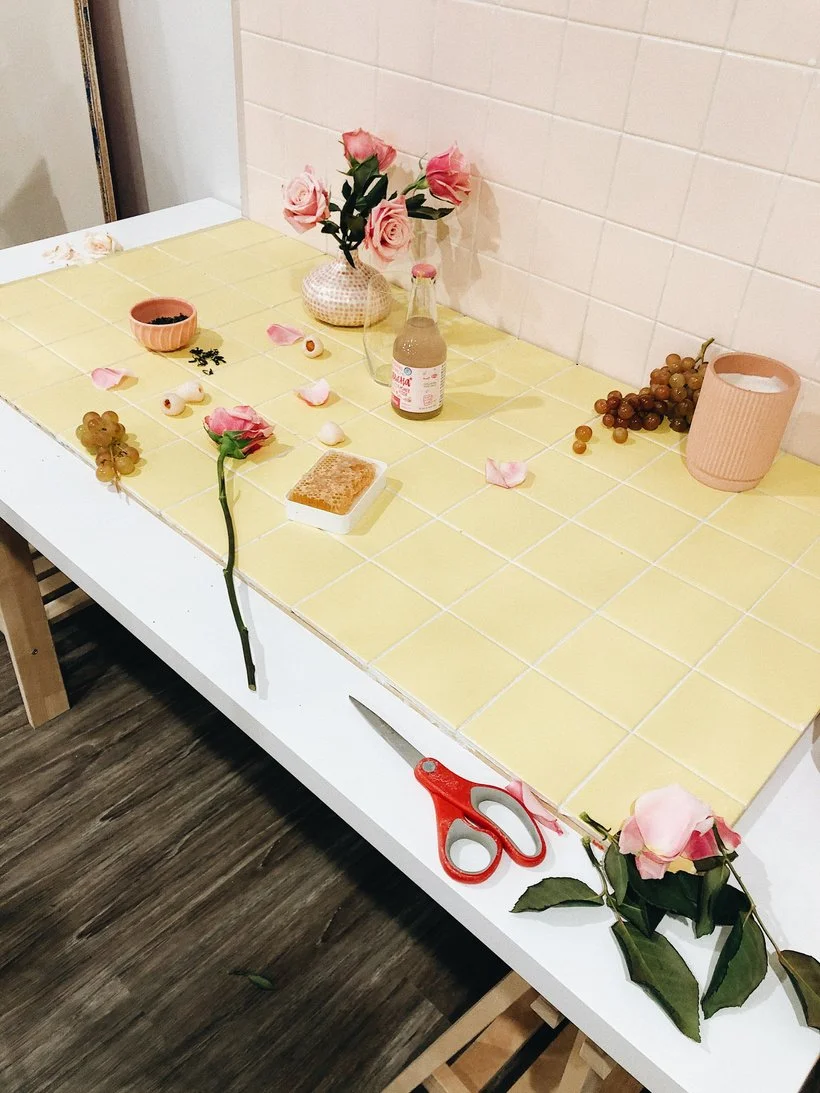
Tile
We use tile a lot - either to mimic a kitchen or bathroom, or just as a fun texture. We found that it was super easy to make our own tiled backgrounds, and we have a whole post about how to do that here, as well as an IGTV demo here. The thing that I didn't share in the post or demo was that we've found a way to create any color tile we want which is helpful since purchasing colored tiles can be expensive. Once you place the tile and secure it and before you grout it, you can use any matte spray paint to color the tiles. After the paint has dried completely, you can grout the tile. If the grout dries before you wipe it off, you will take off the paint, so just grout a small area at a time to avoid the grout drying. You'll also want to scrape the excess grout off carefully in order to not scratch the paint. At the end of the day, you may have to retouch the tiles a little, but its still MUCH cheaper than purchasing colored tiles.
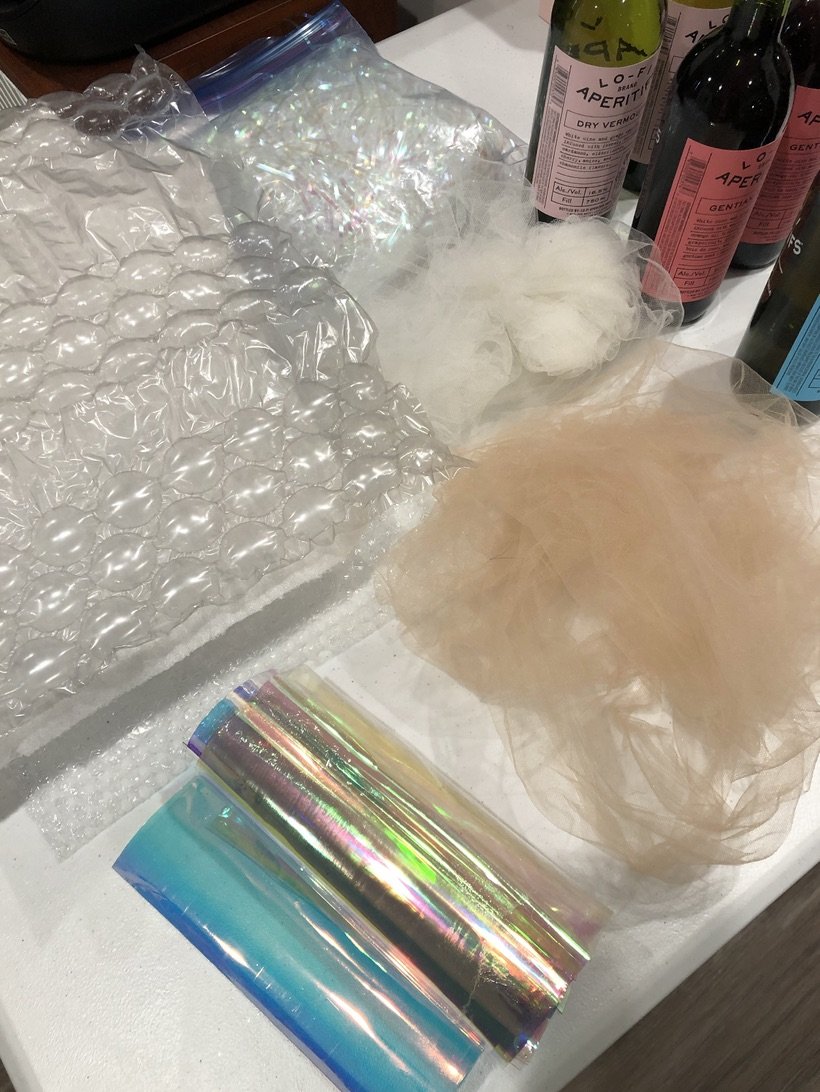
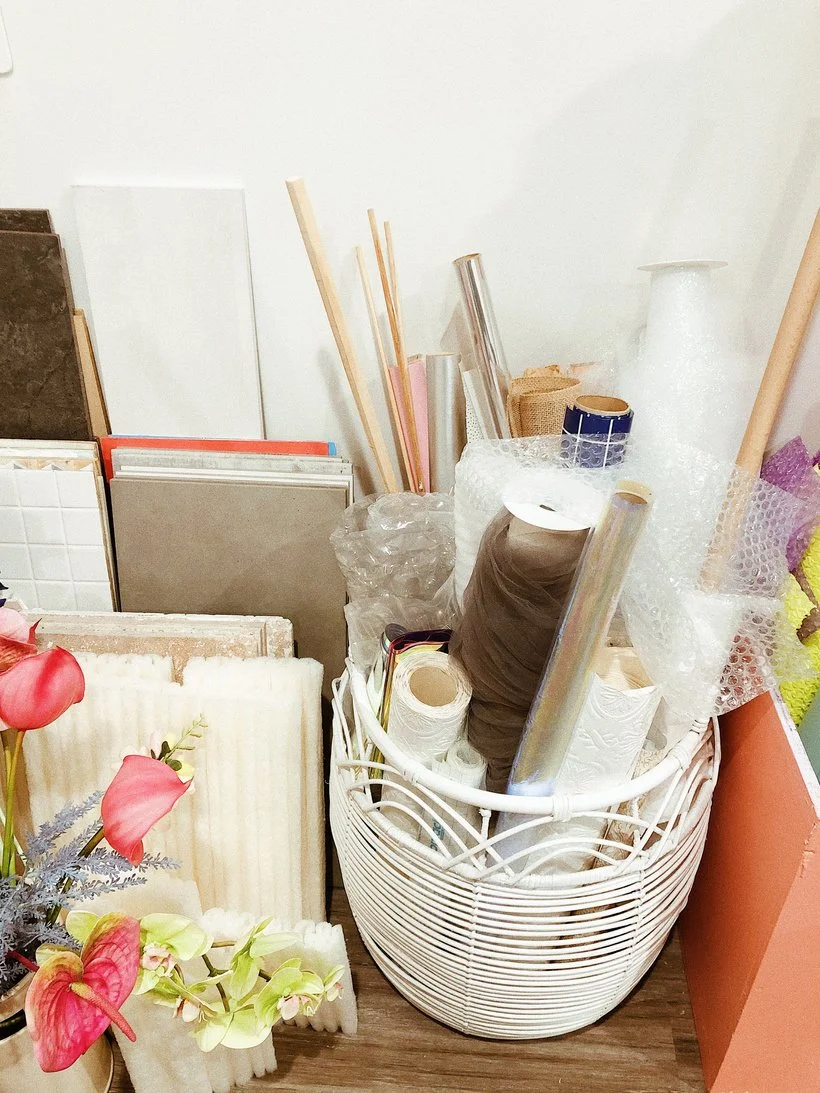
Textures - Found
Look around your house or studio and see if you can find any fun textures! We often save packaging such as bubble wrap because you never know when it'll work for a specific shoot. We also love using cellophane, styrofoam, and other textures. Train your eye to see things in new ways and it will unlock so many possibilities for textures that will create background totally unique to you!

Textures - DIY
Making textures is pretty new for us - once I learned how to use a saw it kind of opened up a new world for backgrounds haha. I've been having fun playing around with different ideas using wooden round of square dowels, but I know theres so many other possibilities so I'm going to keep playing around even more. If you're curious about how I made the wooden grid background, I'll be sharing a video for Saturday and Sunday level members in October so keep your eyes open for that!
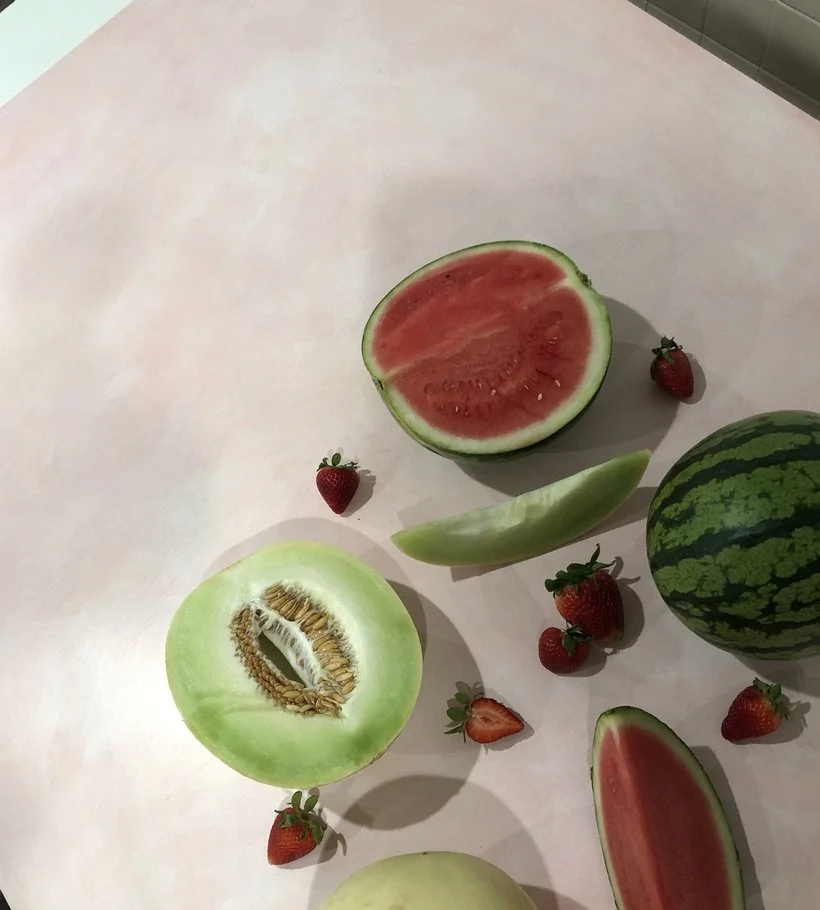
Purchased Textures
When you need a specific texture, sometimes it's easiest to just purchase it! We've purchased some really gorgeous textures from Madelene at Photo Surfaces, she's located about 20 minutes from us which makes pick-up easy, but she also ships throughout the USA. You can also rent the surfaces if you're in the CA Bay Area. She has a ton of great options on her site, but she also does custom work if you need a specific color. What we've found with these textures is that a lot of the lighter colors work best in natural light, so that the texture doesn't get too washed out by strobes.
Another source for purchased textures is Club Backdrops. We haven't tried them yet, but theres a few that we have our eye on. 😍
There you have it! Our list of background ideas. Did I miss anything, or do you have any other additional sources for purchasing backgrounds? Let me know below!
Is it the weekend yet?
Elle