

Water Shots
Hey guys! Hope you're all having a great Tuesday. It's still a bit smokey over here in California and it sort of feels like we're in an apocalyptic film of some sort. It ain't fun I'll tell you that much. Anyway, I wanted to share a little how-to post this week for achieving your own water product shots. You've probably seen them before on Instagram and they're super tactile and fun. They're also surprisingly easy to create. Back when we didn't really know what we were doing, we used a really ugly tub as our container and it was kind of the worst because the texture of it was a bit opaque and it usually had a logo/symbol right in the middle of where we would need to shoot our product. Oh, and sometimes we used a tub that was way too small so I had to do a lot of work in post to make it seem like the product was in a larger body of water which took forever. Thankfully, we've learned since then. Below I'll share a little step-by-step of how to set up a water shot and I'll also share some examples of our own with specific details of how each came together. So, let's dive in! 😉
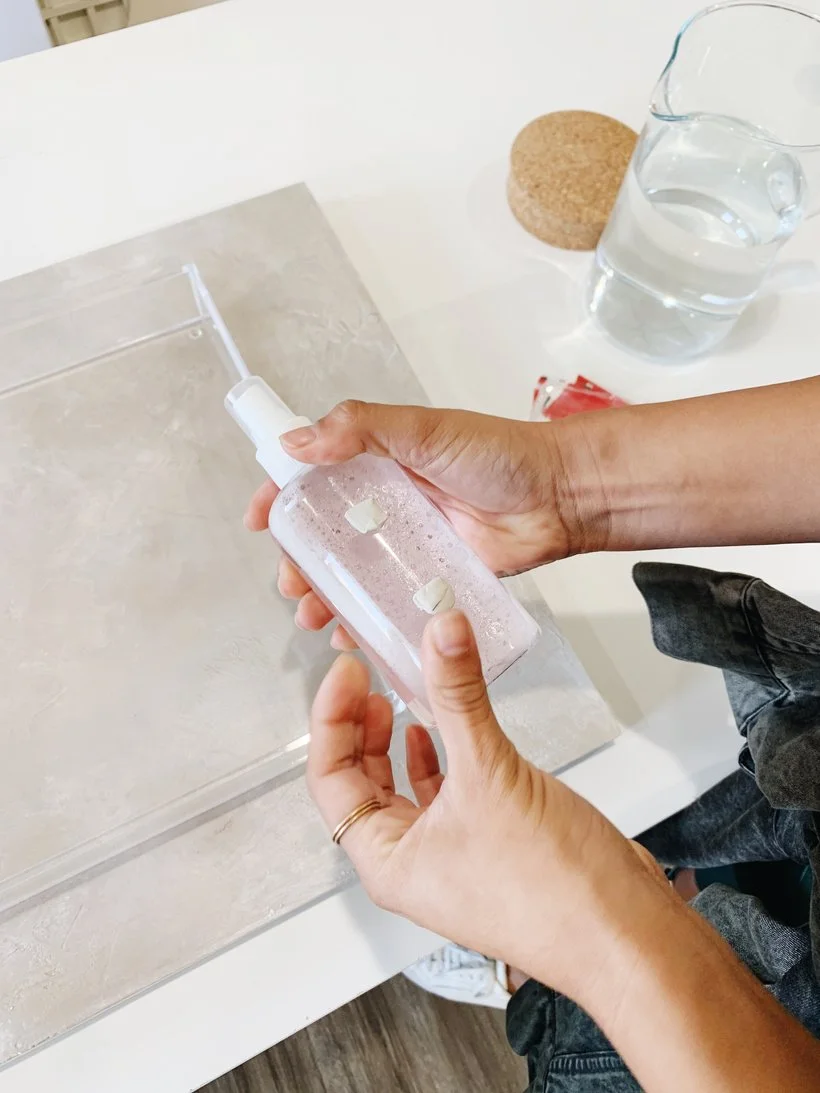
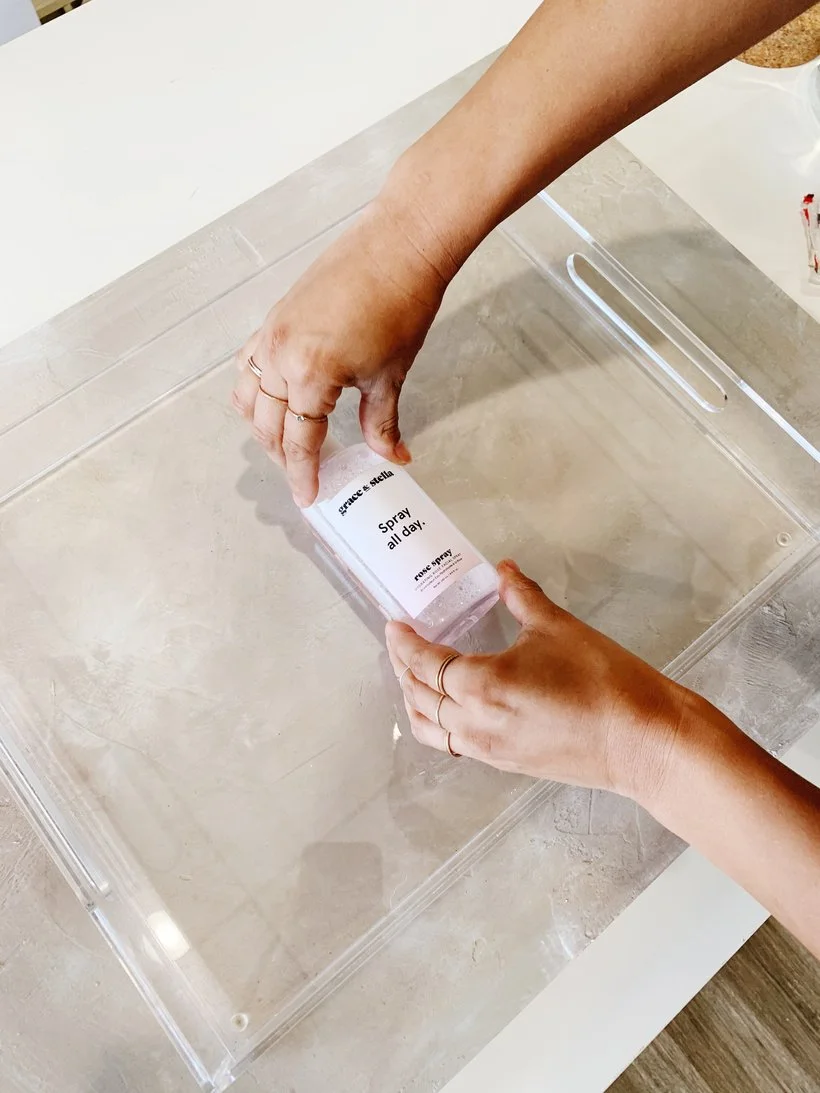
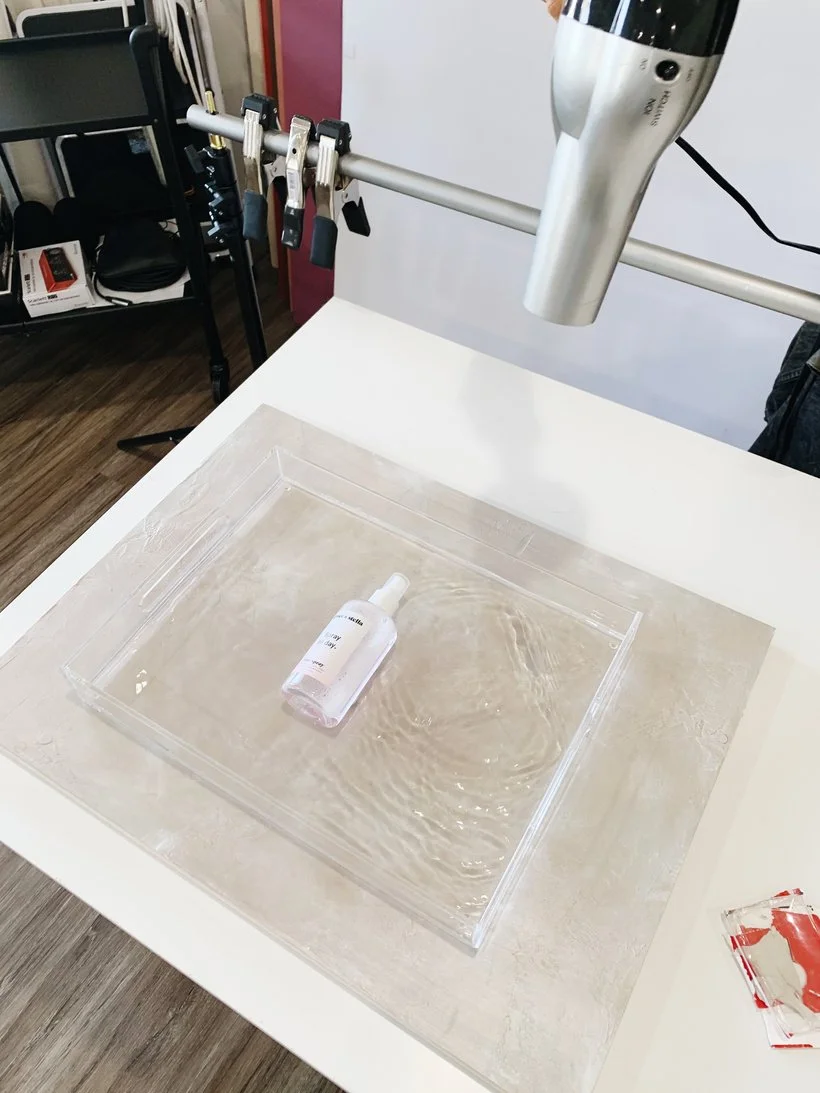
First, you'll need an acrylic tray, earthquake putty, hair dyer, backdrop or surface, water, and of course your product. Depending on the style you're going for, you can place just about anything underneath your container/tray. While you can use a tub of some sort, an acrylic tray is your best bet because the texture and color of the backdrop you use underneath will come through a lot more clearly. Make sure that you get a large enough tray for whatever product you're shooting because the last thing you want to do is spend a ton of time compositing extra water. Next, you'll want to take small bits of your earthquake putty and place them behind your product. The key part of this process is that you'll want to place your product in your tray exactly how you want it before adding the water. If you try to adjust the product after adding the water, it'll most likely unstick and you'll have to start all over again. Not fun haha! Oh and make sure that you've tested your lighting and your entire set up beforehand so you can quickly capture everything you need once you've got the water added.
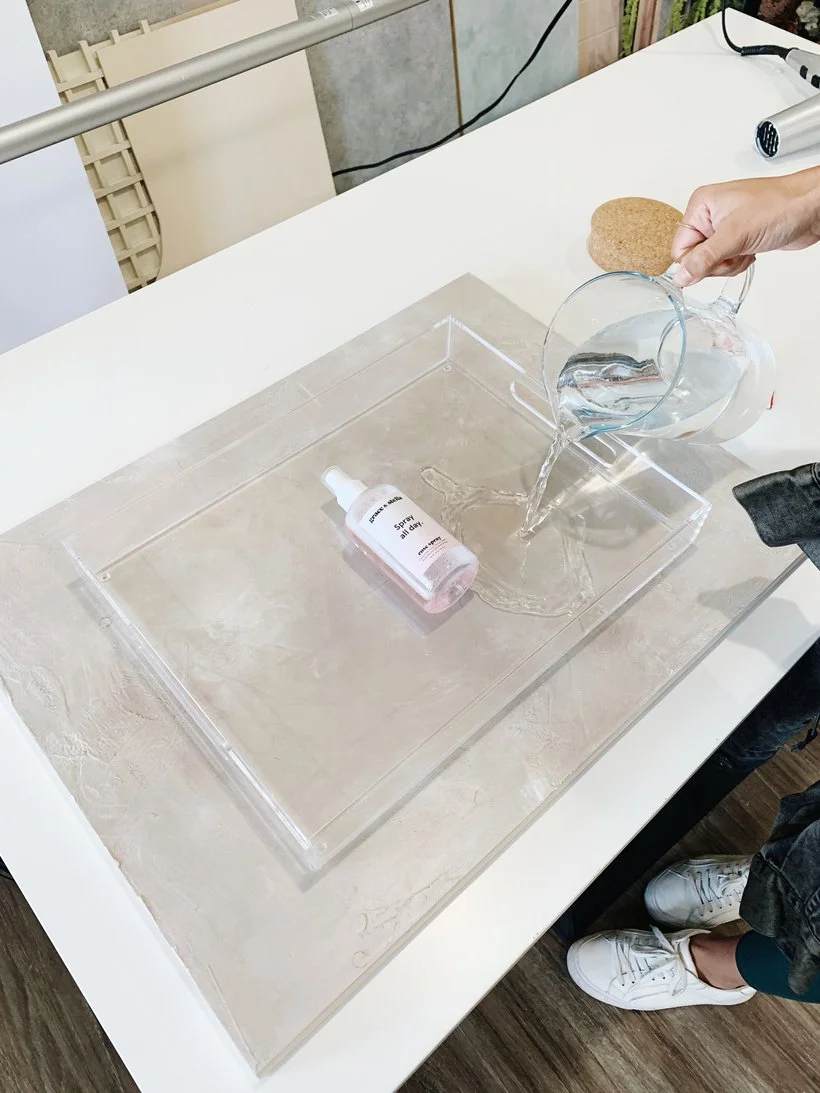
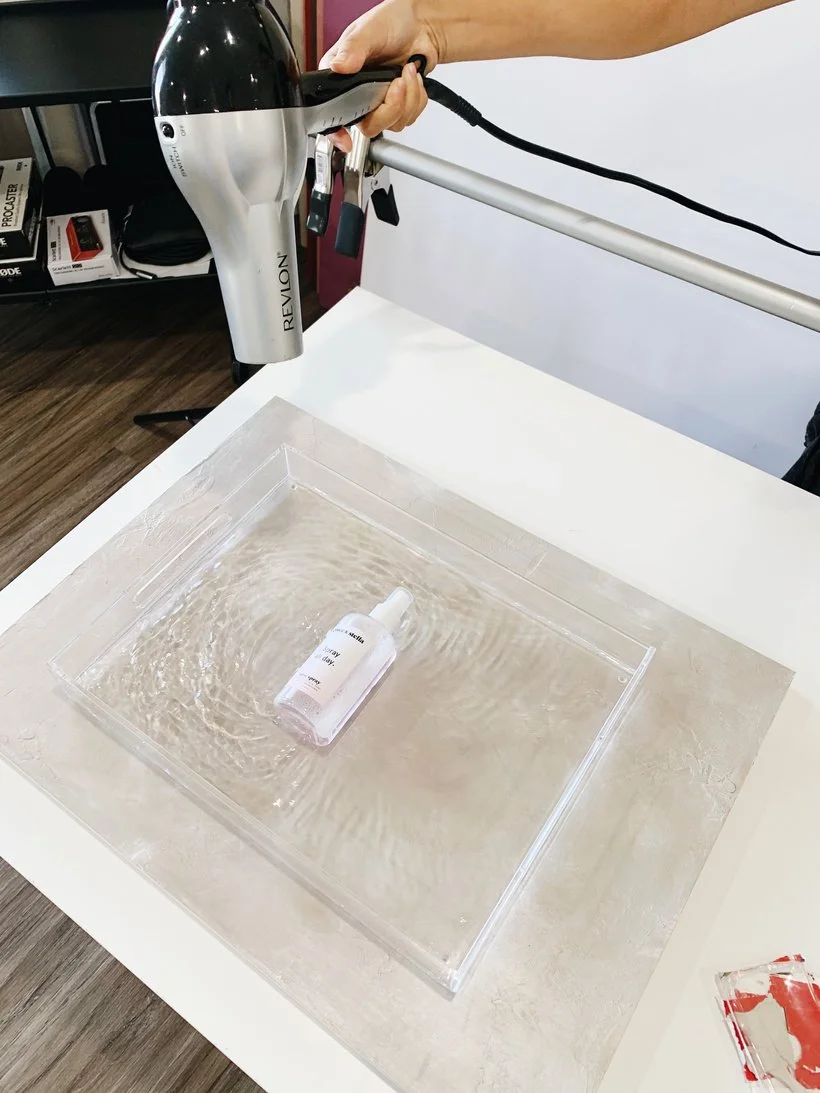
Once you've placed your product exactly the way you want it, you can then add your water. How much to add? Well that's totally up to you, your tray, and how much of the product you want coming out from the water. If you're wanting to create a shot where the water has just begun to spread underneath the product, then just have a friend pour while you capture that first gliding movement. Now for the fun ripples and waves! Take your hair dryer and just point it inside the tray from various distances and in different motions. A lot of it is truly just experimentation. If you want a softer wave, just keep your hair dryer further away from the tray and if you want a lot more action, keep the hair dyer close while waving it around. Sometimes you might need to composite several different waves into one image, so be sure to grab as many plates of different waves so that you have options to stitch it all together! Fun tip: Maybe you might choose to use pink lemonade instead for some tinted water or maybe you want to add some glitter for an iridescent vibe! Get creative, you know?
Simple enough right? Ok, now for some examples. This first image was the first water shot we ever created and it's obvious that whatever we used for the container was not a clear acrylic tray. I think it might have been some cheap plastic tub. You can definitely notice all of the texture underneath which if that's your jam, then by all means. I believe we also used a studio hair blower for the waves which was pretty powerful.
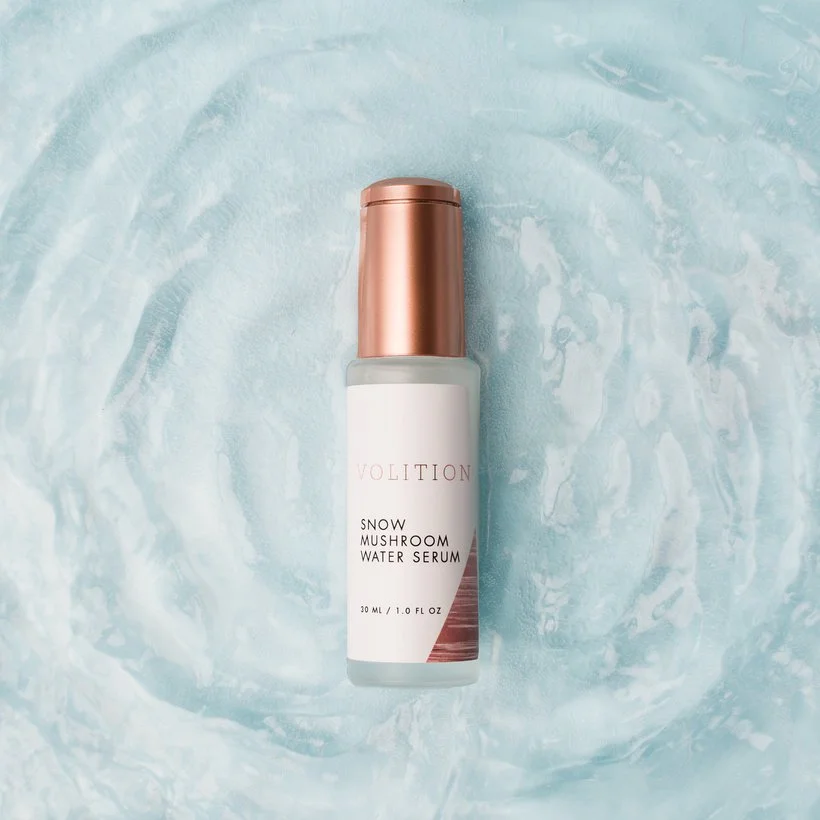
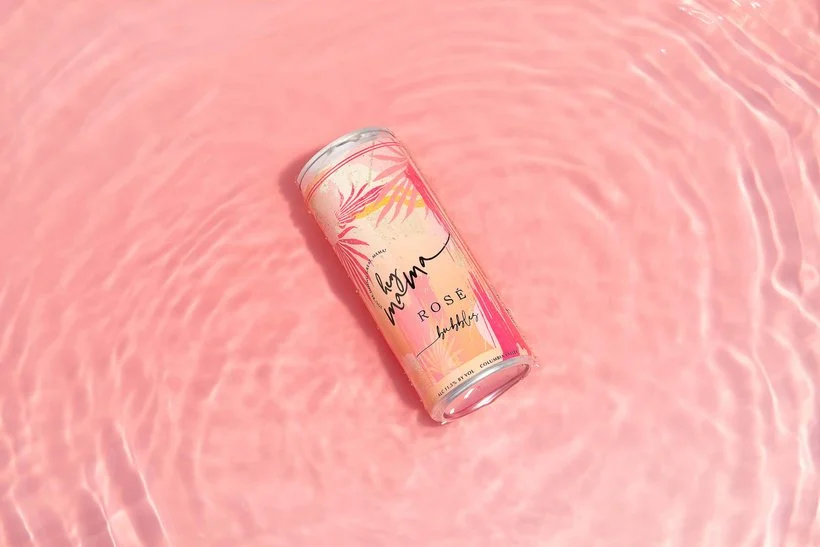
For this next shot, we used pink cranberry juice instead of water to get that pink color. We also used a clear acrylic tray for this one and the waves have a lot more clarity and definition.
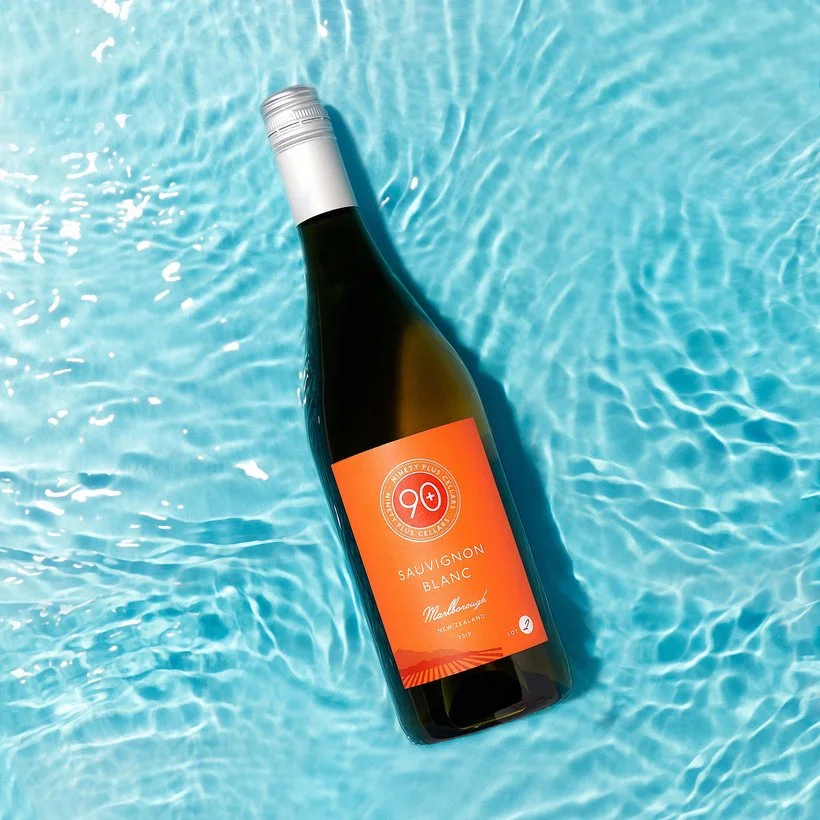
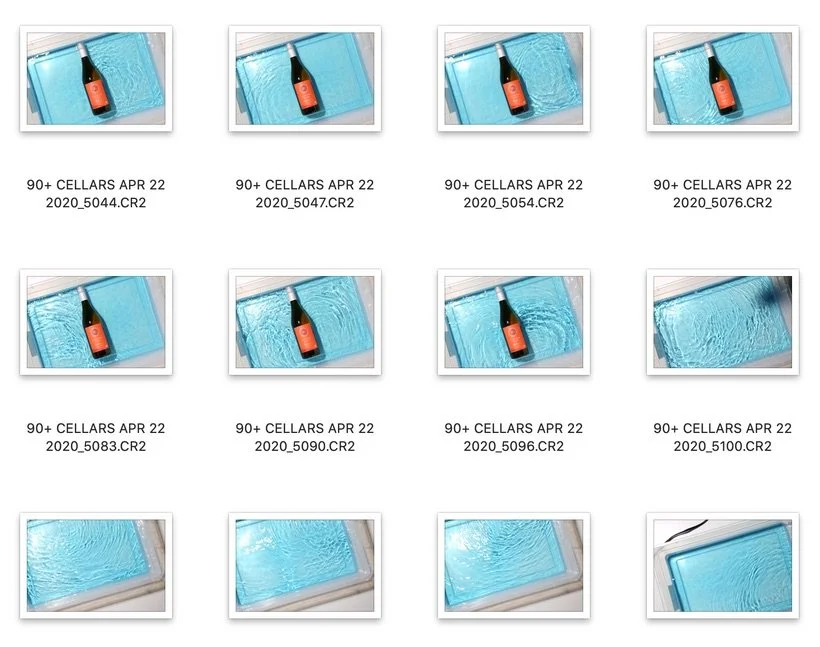
For this next shot, we photographed it on a white surface with a large plastic tub because our acrylic tray wasn't big enough for the wine bottle. So the texture is there once again but we purposefully made the ripples and waves more extreme to hide it a little bit. We used food coloring to turn the water blue for this shot and we made sure to take several shots of the waves so that we can put it all together in post.
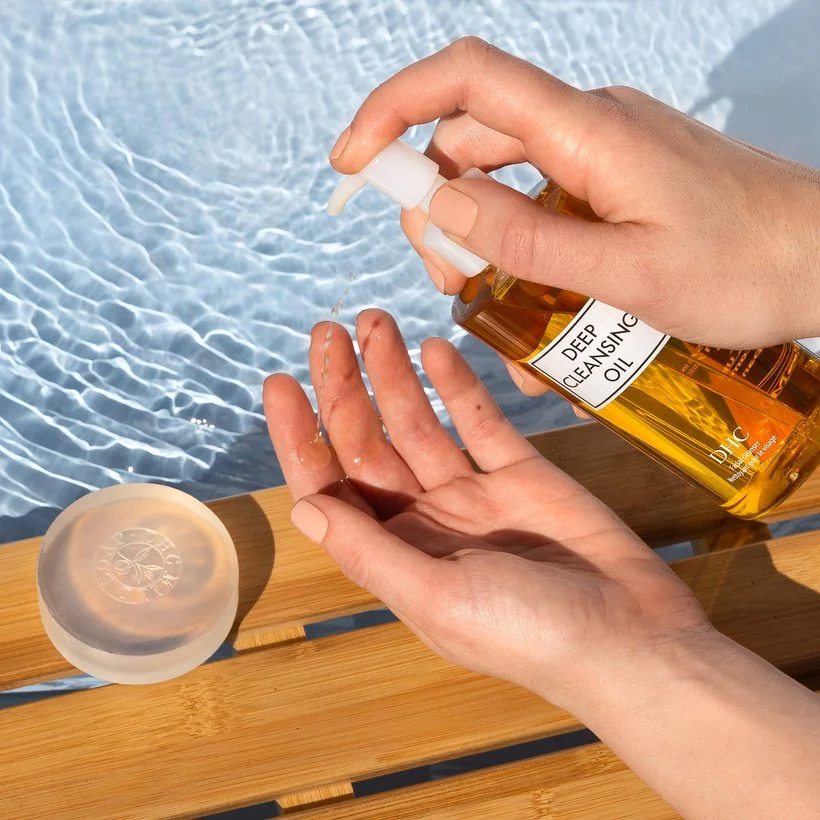
And lastly, here's a shot that we actually created outside in direct sunlight by using all the same steps above.
If you've made it to the end, thanks for reading and I hope you learned something fun. I highly suggest you experiment with the whole process. I am 100% sure that are other ways that you can use water to create some interesting effects. One thing that comes to mind is adding an underwater effect to your images by holding your acrylic tray outside in direct sunlight above your shot like this. Super fun! If you guys have any other cool ideas for creative water shots that you've tried before, feel free to comment on this post or create a new topic over on Discourse.
Is it the weekend yet?
Arabela